Just finished up the surface waves, foam and vegetation on the banks. I am currently pouring four straight sections so work is progressing. Here are the curves.
Total Pageviews
Thursday, August 29, 2019
Monday, August 19, 2019
Making a river
I have wanted a big river for some time and finally knuckled
down and started the project.
First I contacted several laser cut MDF manufactures to get quotes. I went with Warbases as they came up with
what I was looking for and were easy to work with. The design was for a MDF base with MDF banks
with some slight curves and separate small bends. Due to a miss communication on my part with
Warbases I ended up with twelve feet instead of six. I am not complaining. Here is a step by step with images. Unfortunately not with the same section but
there you go.
The basic river
With sand and filler added
Basic Paintjob.
Resin
Resin waves
I still have to do touches up, add vegetation and felt on the bottoms.
Hope you like.
Tuesday, June 25, 2019
Bone wheel in action
Played a particularly vicious game of Frostgrave tonight to test out the scenario. We did two quick level five wizards with ulterior motives. We also played what we call a meatgrinder. From turn 2 rolling for random encounters every turn. We ended up with one minor daemon, two banshees from the scenario, two armored skeletons, one boar and the Ghoul King and his retinue. It was bloody with total casualties in the warbands of 14 dead including one wizard and one apprentice. Monsters dead one banshee, one armored skeleton and the Ghoul King and one of his ghouls. All treasures made it off the board including one from an ulterior motives card. Here are some photos.
The bone wheel
The Ghoul King and his retinue killing a dog
Then attacking my archer. The archer managed to knock both the king and one ghoul off before getting killed.
The wheel again as the center of the action.
The daemon had blinding light on it for three turns and did not do much damage.
Hope you like.
The bone wheel
The Ghoul King and his retinue killing a dog
Then attacking my archer. The archer managed to knock both the king and one ghoul off before getting killed.
The wheel again as the center of the action.
The daemon had blinding light on it for three turns and did not do much damage.
Hope you like.
Sunday, June 23, 2019
Bone Wheel Postscript
Since the top is magnetic it would have been a shame not to use it. Two other scenarios in the Lich Lord Campaign have specialist terrain that the plinth can be used for. The black cauldron and the Ghoul Kings throne. I built a stone cauldron by using foamex disks to build the basic structure. This was coated in Milliput and then carved to resemble chipped stone. The basin was formed while the milliput was still wet and then once set it was sanded smooth. Surface texture for the liquid was added with acrylic gloss medium. Painted and filled with two part epoxy resin tinted with just a touch of purple ink. The Throne is just a jumble of bits and tombstones arranged onto a bench.
First the Cauldron:
Next the throne
Hope you like.
First the Cauldron:
Next the throne
Hope you like.
Sunday, June 16, 2019
Reaper bones 4 Containers
Another build that I have been working on came from my Bones
4 kickstarter package.
No step-by-step photos on this one since these were pretty easy. The six cargo containers
were all built closed, primed and painted a solid color. A sponging of dark brown and then bright orange
was applied.
Graffiti decals from Greenstuff World were applied. Once these were dry I applied several filters
of oil paint.
The only things left on these are to use a graphite pencil
to pick out some areas of excessive wear.
Hope you like.
Saturday, June 15, 2019
Bone Wheel almost done.
Finished up with the oils.
First application was the blues and reds. These were painted on in a blob in the center
of the part to be tinted. Then a brush
that is damp with white spirits was applied to blend the tint onto the
surface.
Next step was the greens and black. The green was used on the stone and the wood
surfaces to imitate damp mossy areas.
The black was used solely on the skeletons to simulate the discoloration
of decay. The same process of using a brush damp with white spirits was used to
blend the colors in place.
Once all of the oils were dry, a wash of raw umber oil and
white spirits was used. Some areas of
the skeletons and skulls received more watered down oils at this time.
Black felt was added with spray adhesive at the bottom of
the plinth and the shrine. This helps
protect the surfaces and will help blend the terrain onto whatever surface it
is placed on.
Here are the individual components.
Base:
The Shrine:
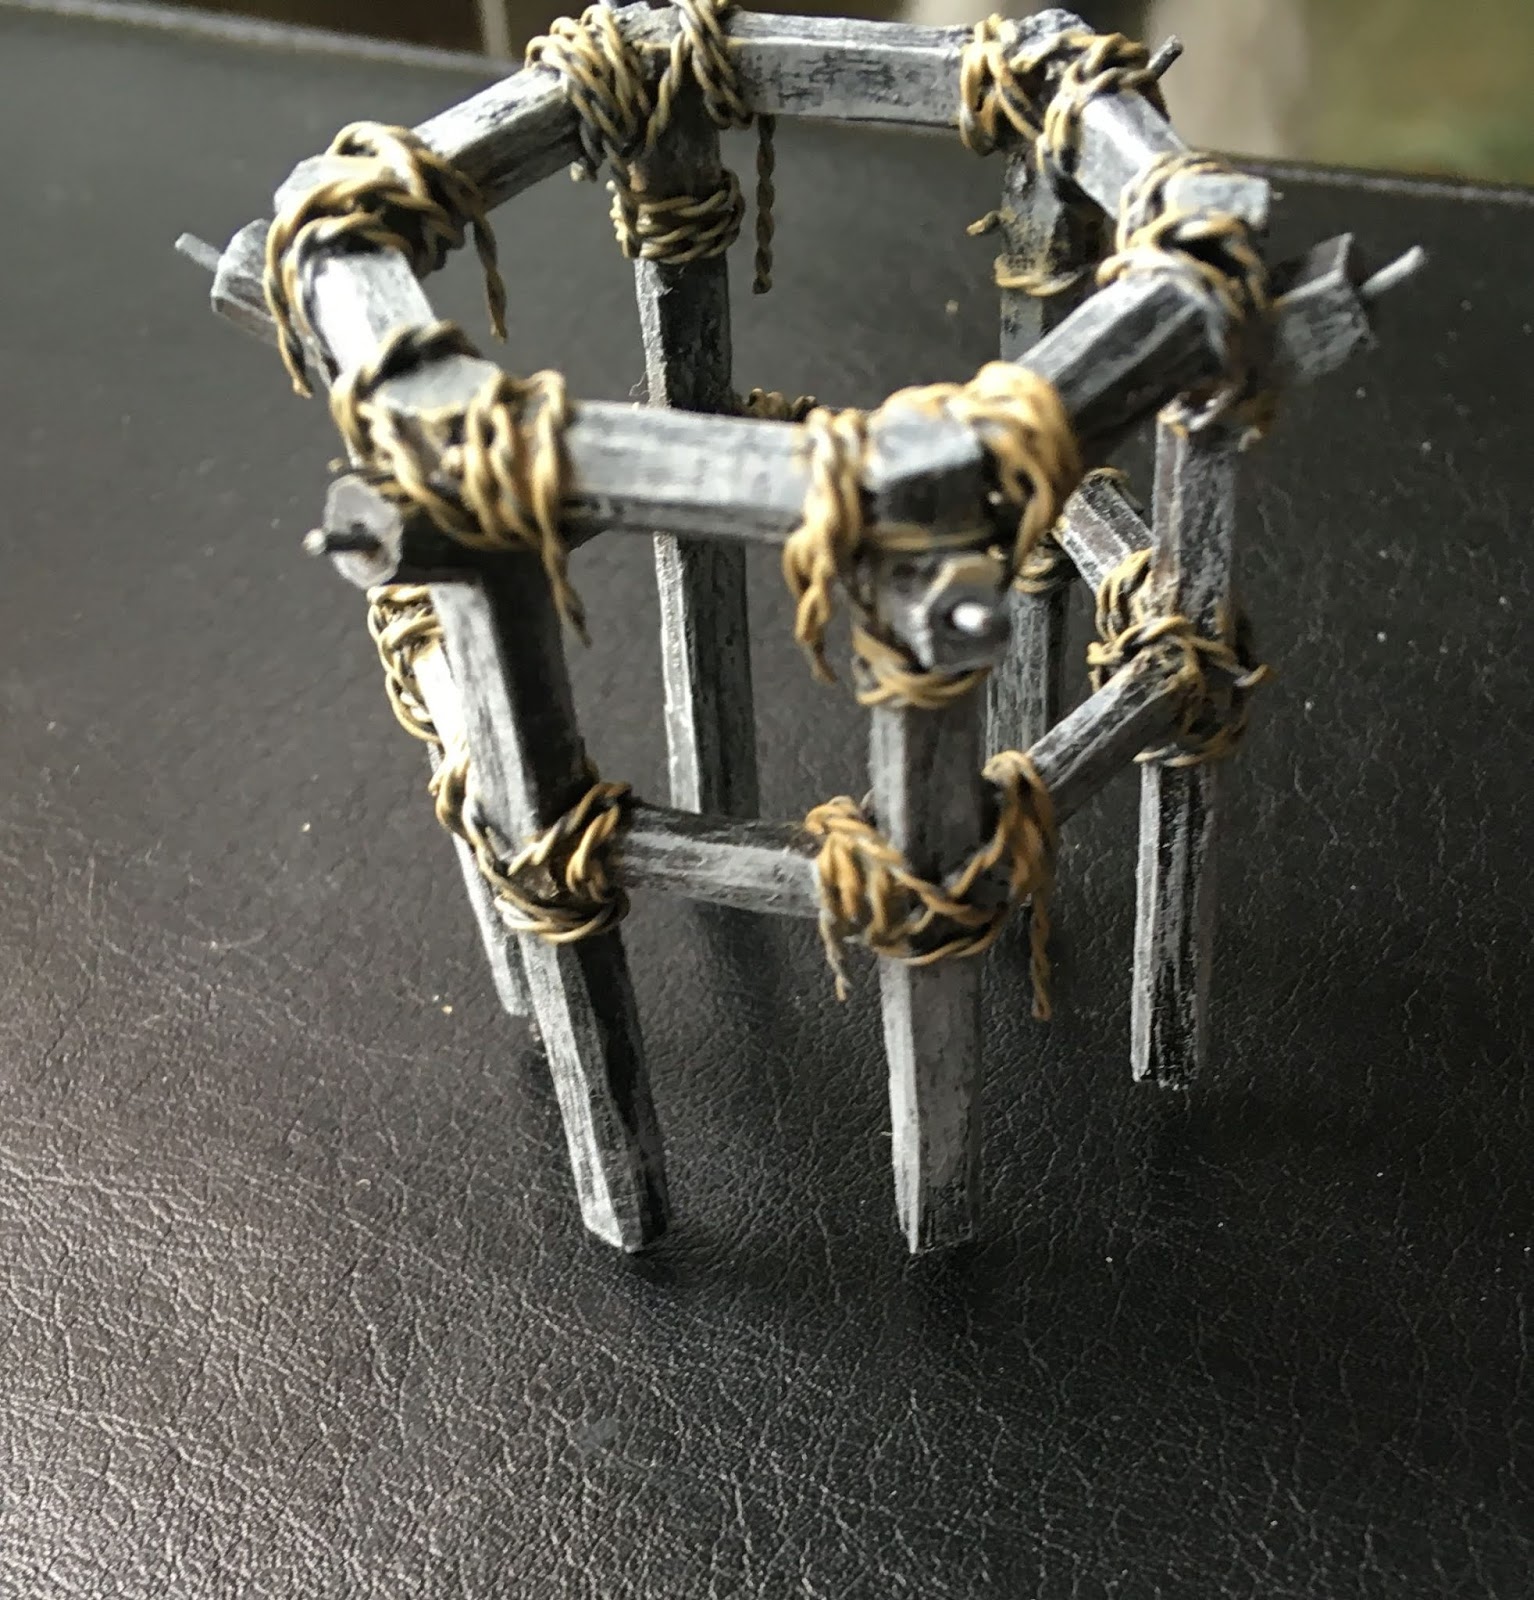
The scaffolding:The wheels:
Here is everything put together. Models are from Hasslefree and Studio Miniatures.\
Once the latest batch of oils finishes setting Pledge
Multi-Surface Wax (in the US read Future floor polish) will be painted onto all
the playing surfaces to help protect the paint.
After that sets it will get a coat of rattle can spray gloss then two
rattle can spray flat.
Just so everyone is aware. My cat found a bag.
Hope you like.
Saturday, June 8, 2019
Bone Wheel construction and base coat done.
I decided to magnetize the scaffolding as I can make another top
for use in the game or I can use the base as a stand-alone dais.
I was initially at a loss as what to add to the base of the
scaffolding. I hit on making a small
shrine on top of the dais with the scaffolding built around it. Here is the shrine that I came up with.
Once all components were primed black, I started with the
base. All stone was highlighted with
three separate colors. Individual stones
will be picked out and colored once I start on the oils. The skulls were painted individually.
The small shrine was painted in a similar way. I added some pictographs that will be
obscured with the scaffolding so I did not go into too much depth.
The scaffolding was dry brushed with two shades of grey on
the black primer. The ropes were painted
later.
The wagon wheels were painted in a similar way as the
scaffolding. The skeletons were painted
and so were the metallic parts of the wheels.
Here is the completed build without glue.
The whole structure will be receiving several treatments in
oil paints to both tone down and blend the original paint job. The oils will also be used to tint individual
stones and tint certain details.
Hope you like.
Subscribe to:
Posts (Atom)