Total Pageviews

Showing posts with label How To. Show all posts

Sunday, March 8, 2026

Giant post 2 and BSC2026 post 3

First off is what I have done with the giant.  Finished cleanup and added the pouch and treasure trousers hanging off his belt.  I removed the hook off the pouch and pinned it in place in two spots.  Then used UV resin around the base to give it more support.  A bit of green stuff was added for a strap on the belt and corresponding strap on the pouch.  The treasure trousers (when you hold the piece upside down it makes sense) had the integeral ring and hook removed and replaced with a new steel ring and hook.  The end of the hook is the first pin point for the piece.  I also hid a second pin on the backside of the trousers to secure it in place.  Again UV resin was used for extra support where it touches and is close to the body.  


 I added an Easter Egg on the base with a 3d printed Tortoises attacking his foot. 

Here is a scale shot with a miniature on a 25mm base. 

 BSC2026.

Added details and controls to the supports for the telescope.  Just needs some gap filling and I can prime. 


Sunday, June 29, 2025

Making some totems

 I have placed an order with Mammoth Miniatures for some of the Banhus Twiggy Horrors.  I plan to use them as totems.  I am thinking about doing a woodland shrine so I figured that I would see what I can to to flesh them out some more.  I elected to try to sculpt some of my own as a supplement to the pack.  As I can't sculpt well, I used skulls out of my bits-box to top them.  
Here is what I came up with.  


 I also used some masks from the Northstar Tribals kit to make some panels and then one of the GSW textured rollers for the carved runes.  


Thursday, April 17, 2025

Observatory Post 2

 Observatory  Post 2

After dropping small parts, tools, knives, open plastic cement, open superglue and putty multiple times, I have decided to finish up here tonight.  When gravity works against me, it usually does not stop working against me so it is better to quit before I get injured or damage what I am working on.  

The telescope itself is done bar some minor gap filling.  Added some metal rings at each point where the segments meet to create a bit of a seam, and puttied where the tubing connects to create a better seam.   Added a lens to the front, and dolled it up with some runes.  All that is left is to putty the bottom of the front by the lens to clean that up. I also added some mounting points for the adjustable lenses.  It is here that I discovered that my first bottle of plastic cement, and the supoerglue refused to work as advertised.  I opened the Plastiweld as that will melt anything and managed to spill it all over one of my cutting mats and managed to melt the painted grid off the surface.  It worked so well that a lighter that was sat on the mat started leaking out butane.  After a quick cleanup, I have some photos. 


Monday, April 14, 2025

A new project

 My builds usually start with a simple idea and I work from there.  This one started with a telescope.  I built the body of the telescope out of regular plastic tubing.  I added half of a resin cast gear that will be used as part of the mechanical control.  The next two pieces are filter lenses that will be added on after all of the painting is done.  Next I will start to figure out the mechanical controls and the support structure.

Off to the photos. 


Monday, May 13, 2024

Quick tutorial on parchments

 Just a tutorial on how to quickly make parchments in 28mm.  You can take or leave steps as suites you. 

Start with some card.  I picked up mine from WH Smiths.  It should be a bit thicker than normal printer paper.  

This is stained and dried using two regular tea bags. This will give a patchy base color.

It is then cut into strips and then small rectangles. 

Card by itself is too thick when looking at it in scale so use some 100 grit sand paper to sand the edges of each sheet down.  The sanded side becomes the back of the parchment. 

If you want distressed parchments then use 60 grit as it will naturally remove bits and make holes. 

When you flip them over they are ready to be worked. 

You can then add a splash of color using colored pencils. 

Then add small lines of text using a mechanical pencil. 

Once that is done then do a thin wash of brown streaked onto the page to simulate wear.  

Then a very thin wash of green to simulate mildew and heavy wear. 

Here are two sheets sat on a sheet of the original card to show the difference. 

Last step is to use a mandrill to round the edges a little bit.  Be sure to ink the reverse side if the edges are going to be visible. 

I have been doing about ten at a time to keep my sanity as my current project needs a fair few. 


Friday, March 1, 2024

BSC 2024 post 1

 Afternoon, 


I am having another go at the LAF Build Something Competition again.  The theme this year is Workplace so I am planning on building a potters shop.  Starting off with some interior details.  A couple of rickety shelves and the potters wheel are done.  Using beads for the majority of pots so I don't drain the supply of pots that I have on hand.  Hope you like.


Monday, October 23, 2023

House of the chattering skulls complete

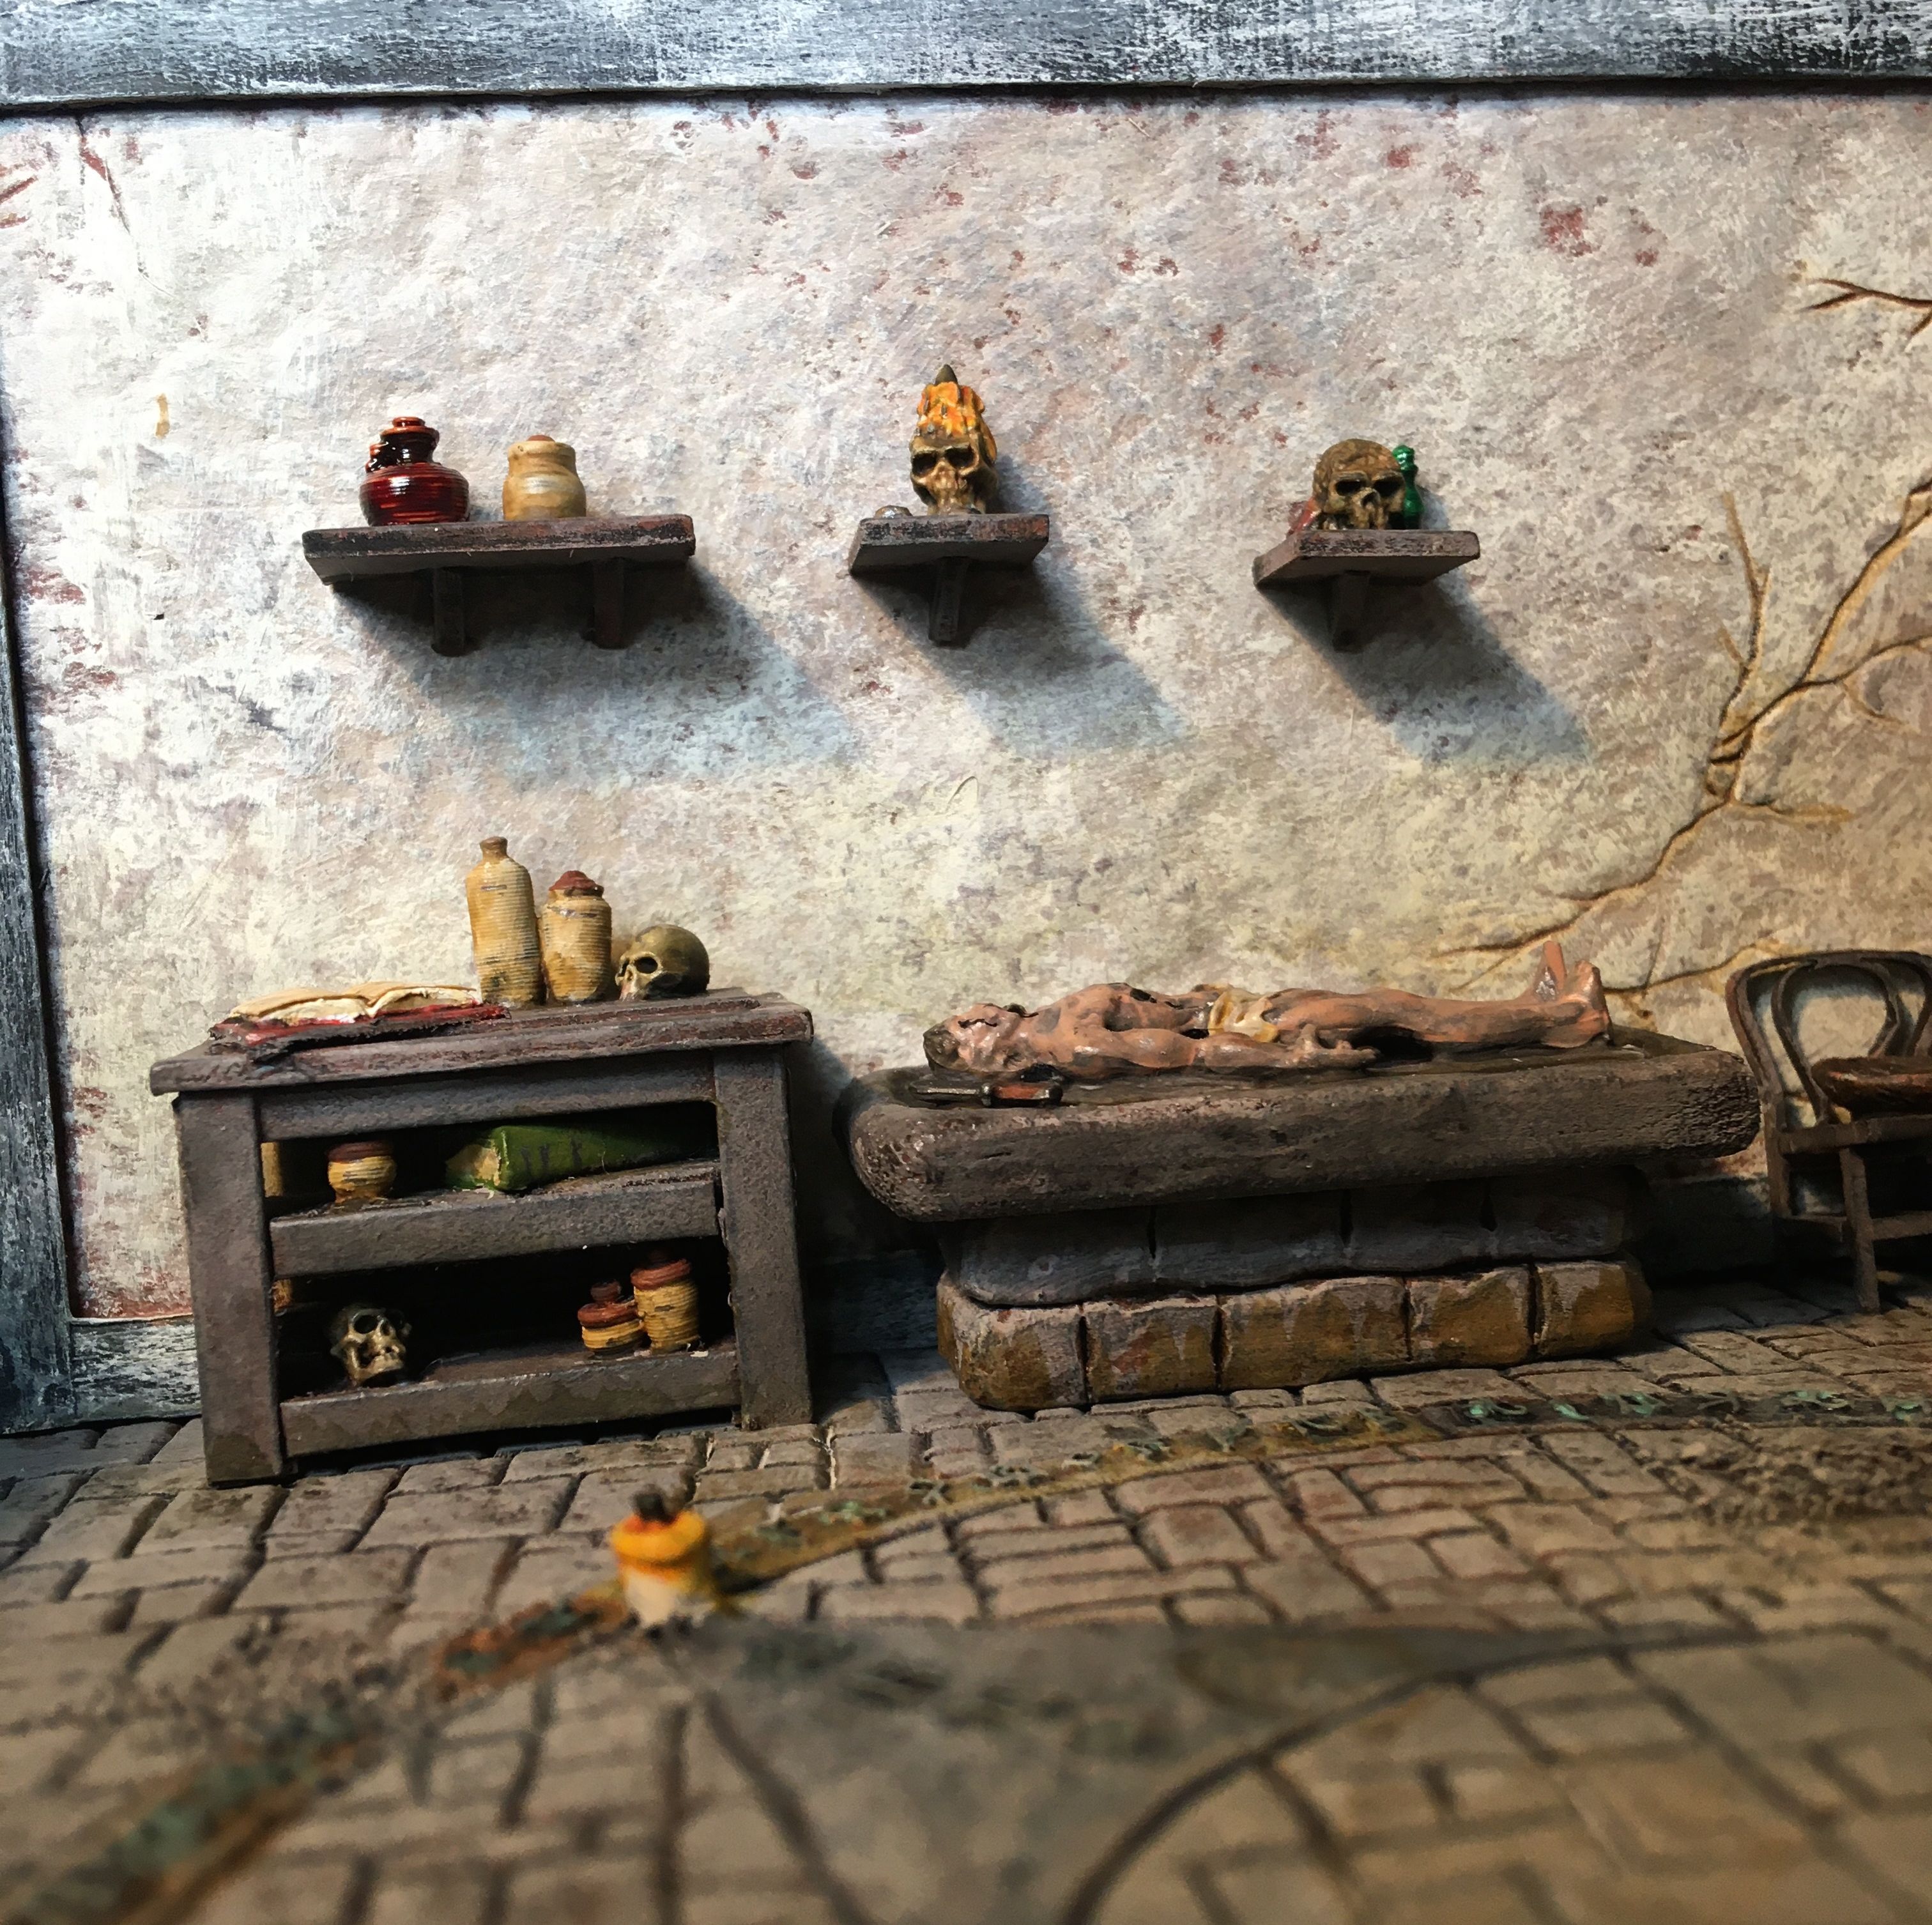
 Had time today to finish painting and glue everything in place.  Only one photo of the front as the sides and back are just brickwork.  It is designed to either be placed against another building on the sides or to make small alleyways between buildings.  

Off to the photos.  

Exterior.  

Arcane symbol on the floor. 

Wall 1


Wall 2

Wall 3


Wall 4


Hope you like.


Saturday, October 21, 2023

House of the chattering skulls post 5

 This will be a bit of a long one as there are a fair few photos.  

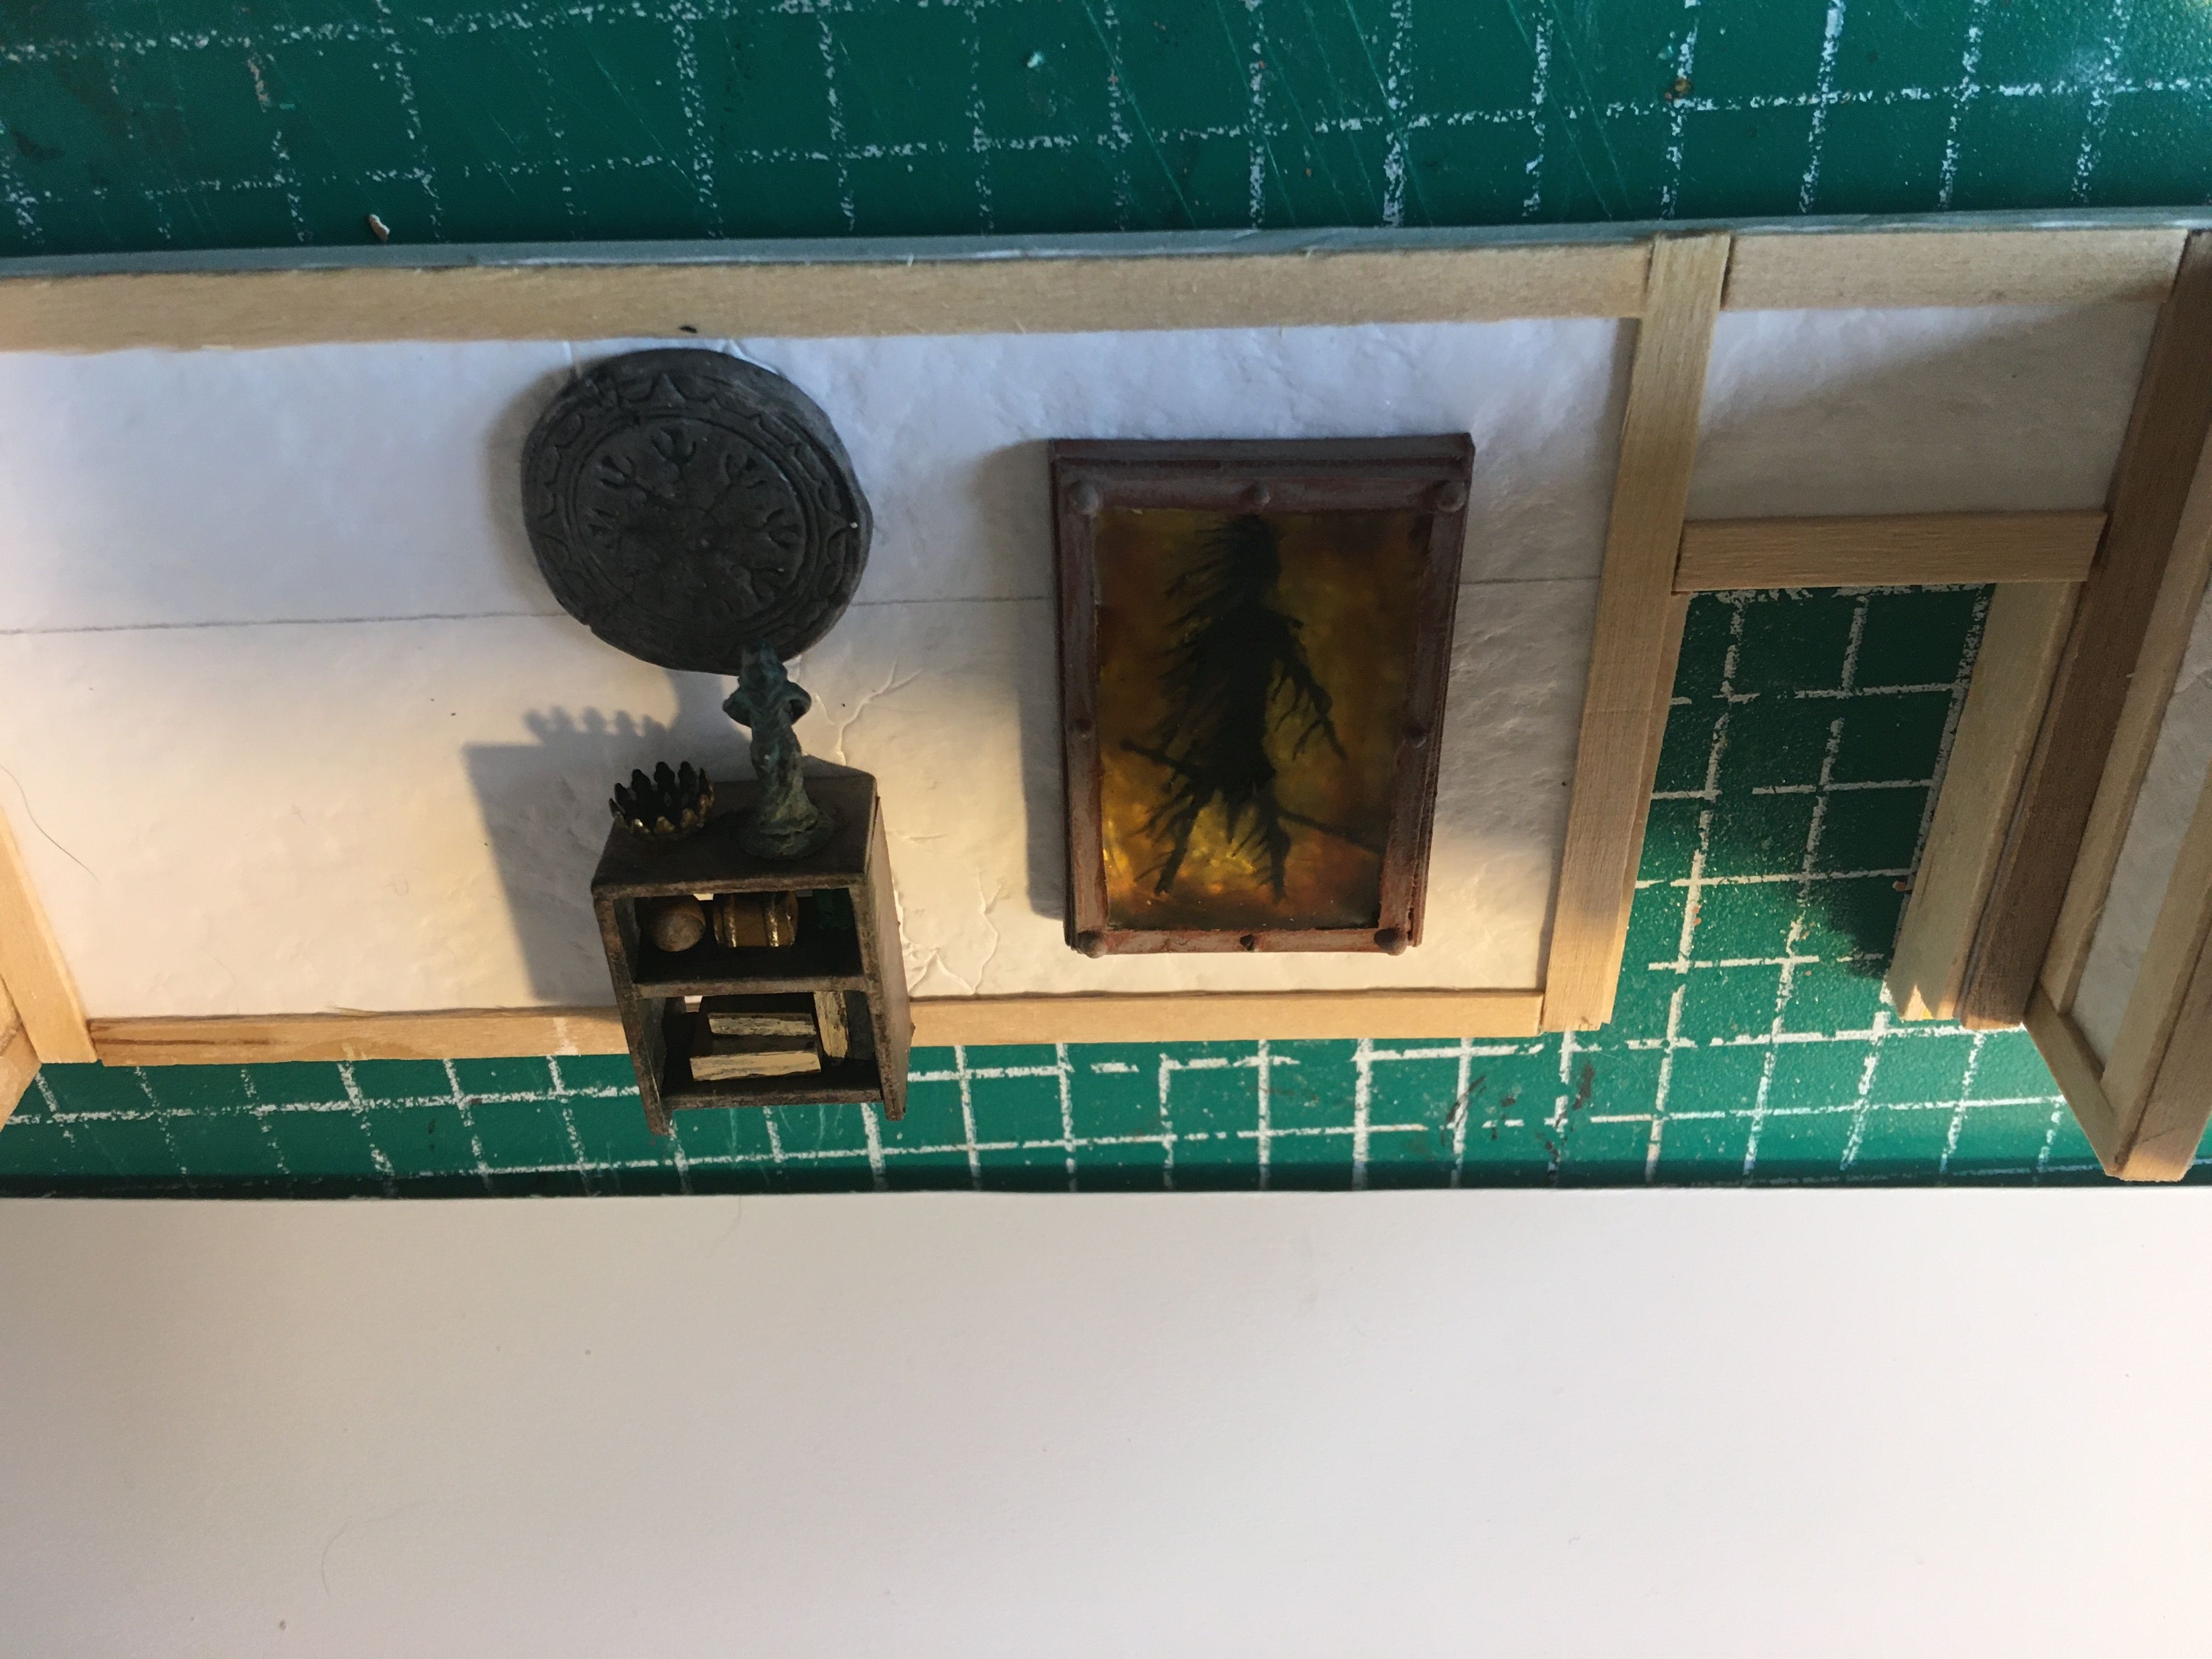
First I have a new interior element.  It is a magical mirror/gateway.  Used the shirinkidink/resin combo again to make the image float.  It does not show to well in the photo but it IRL it is floating.  

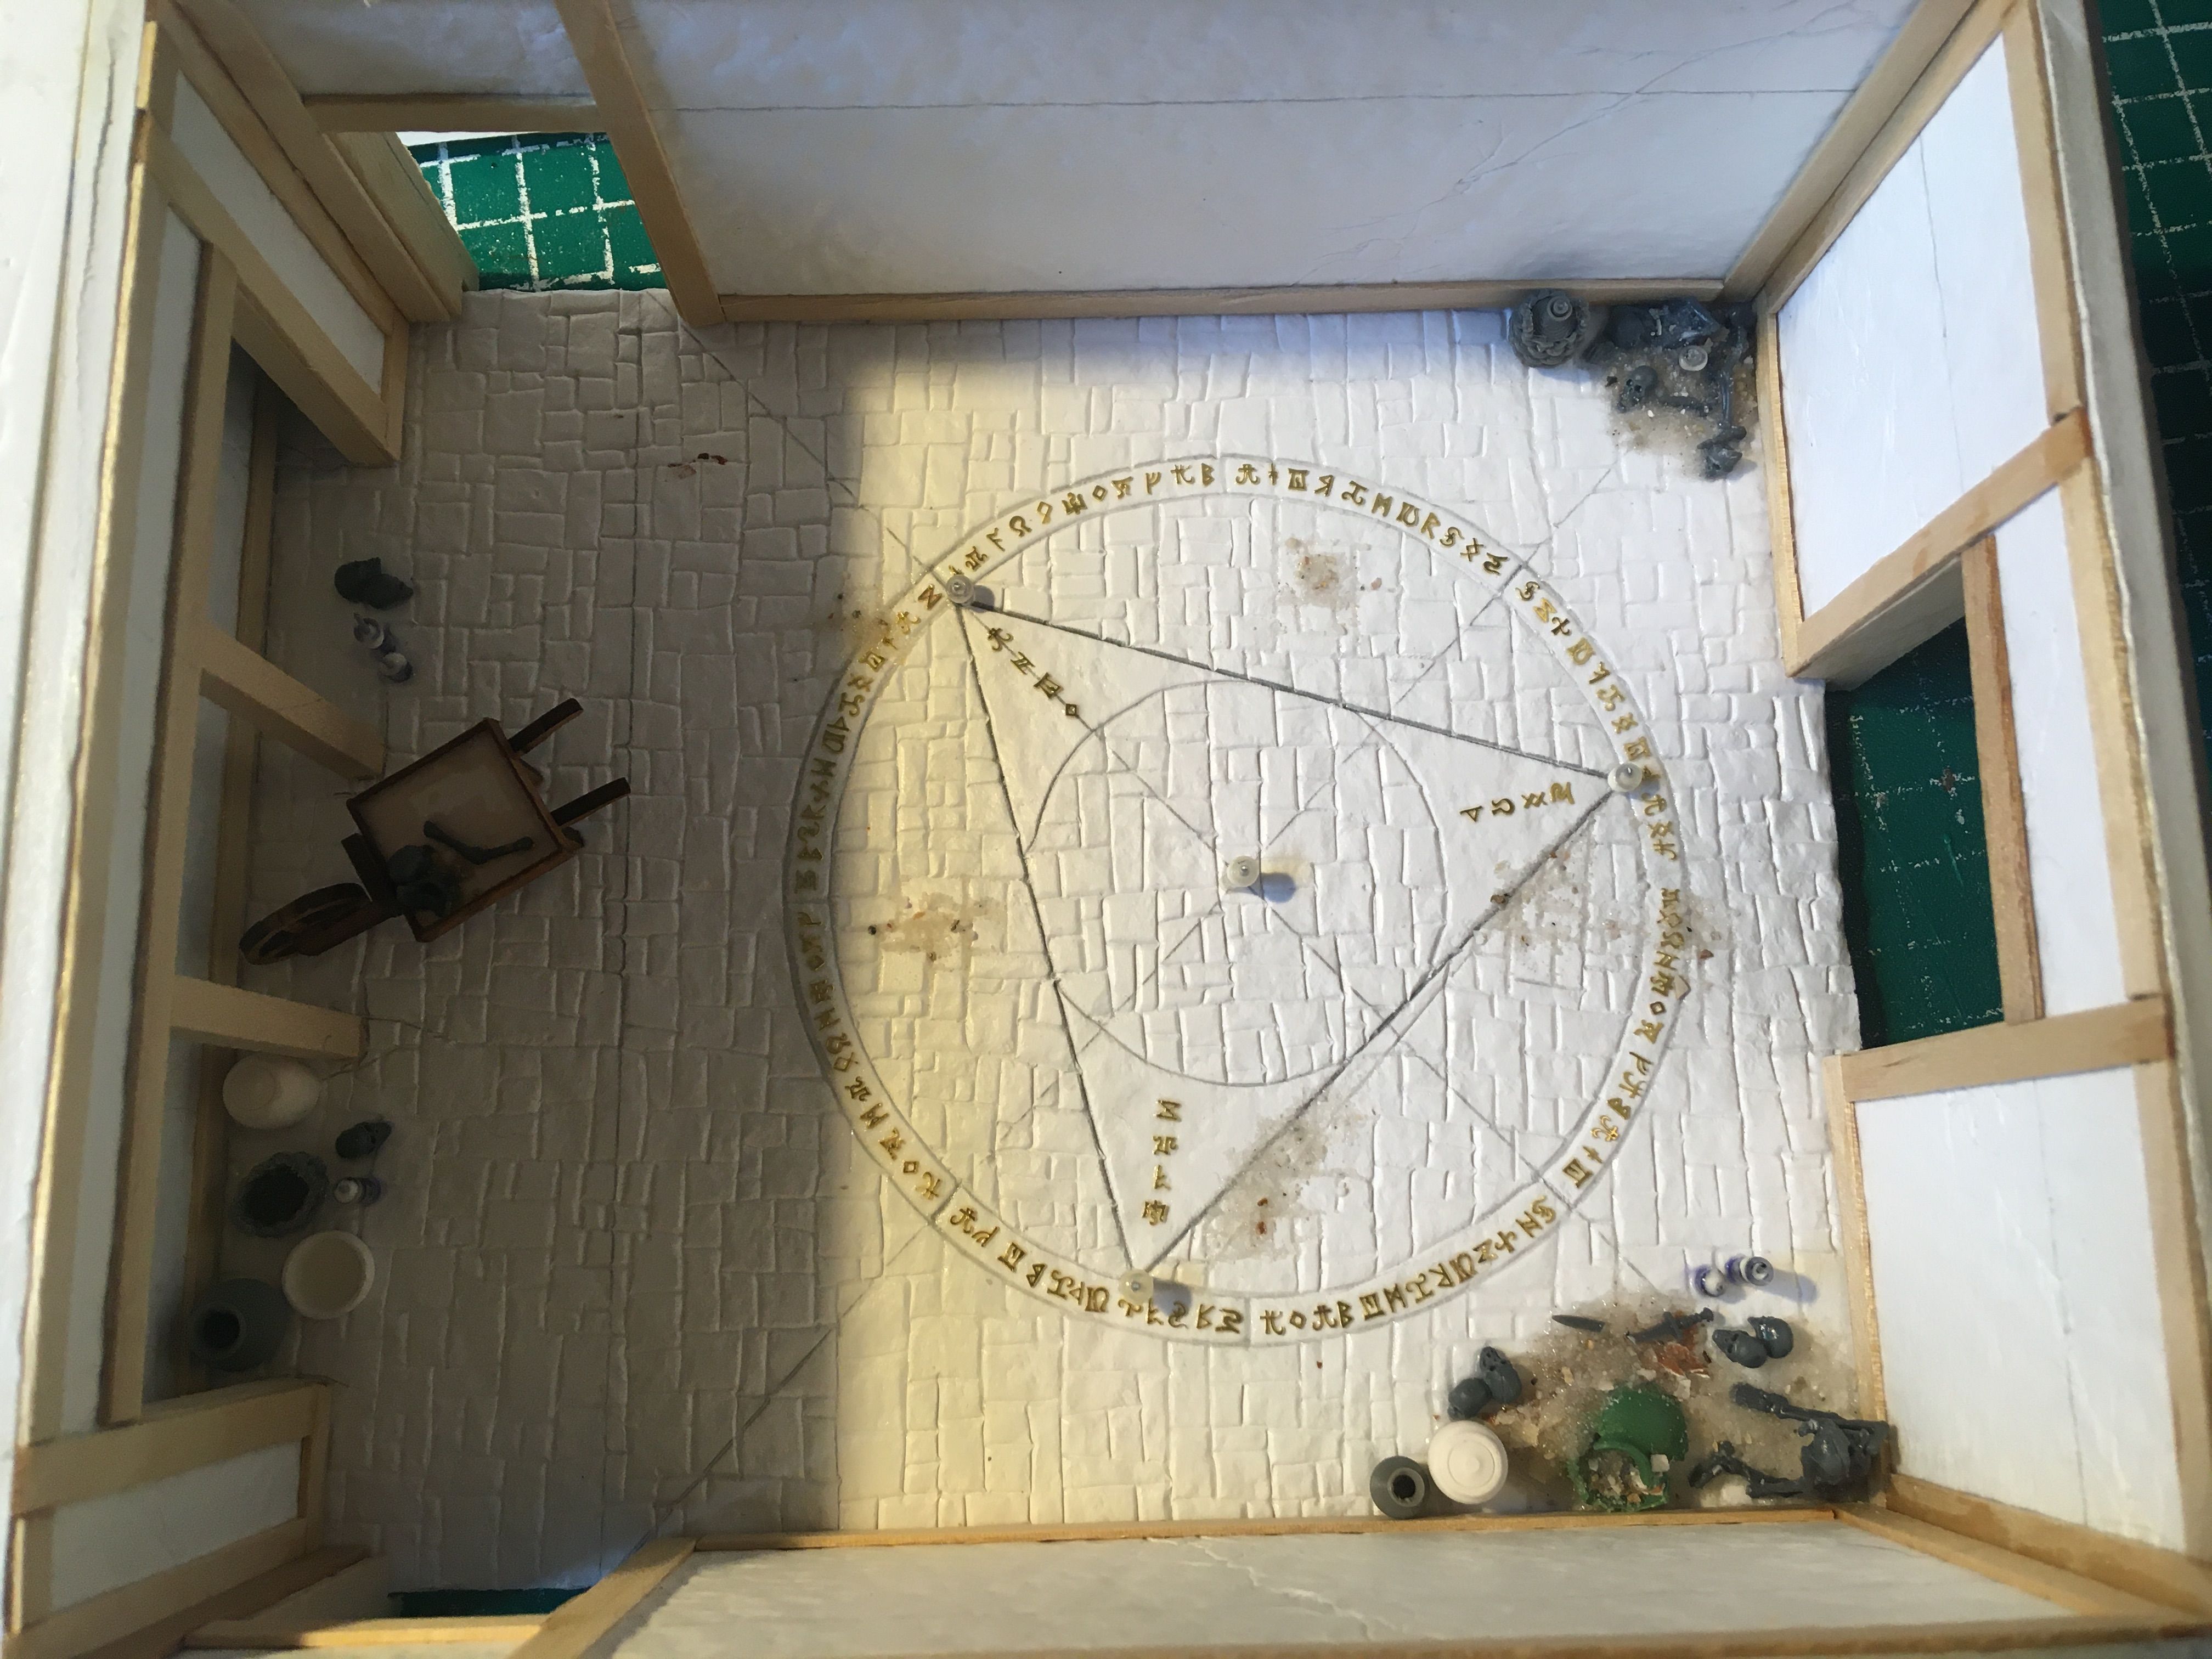
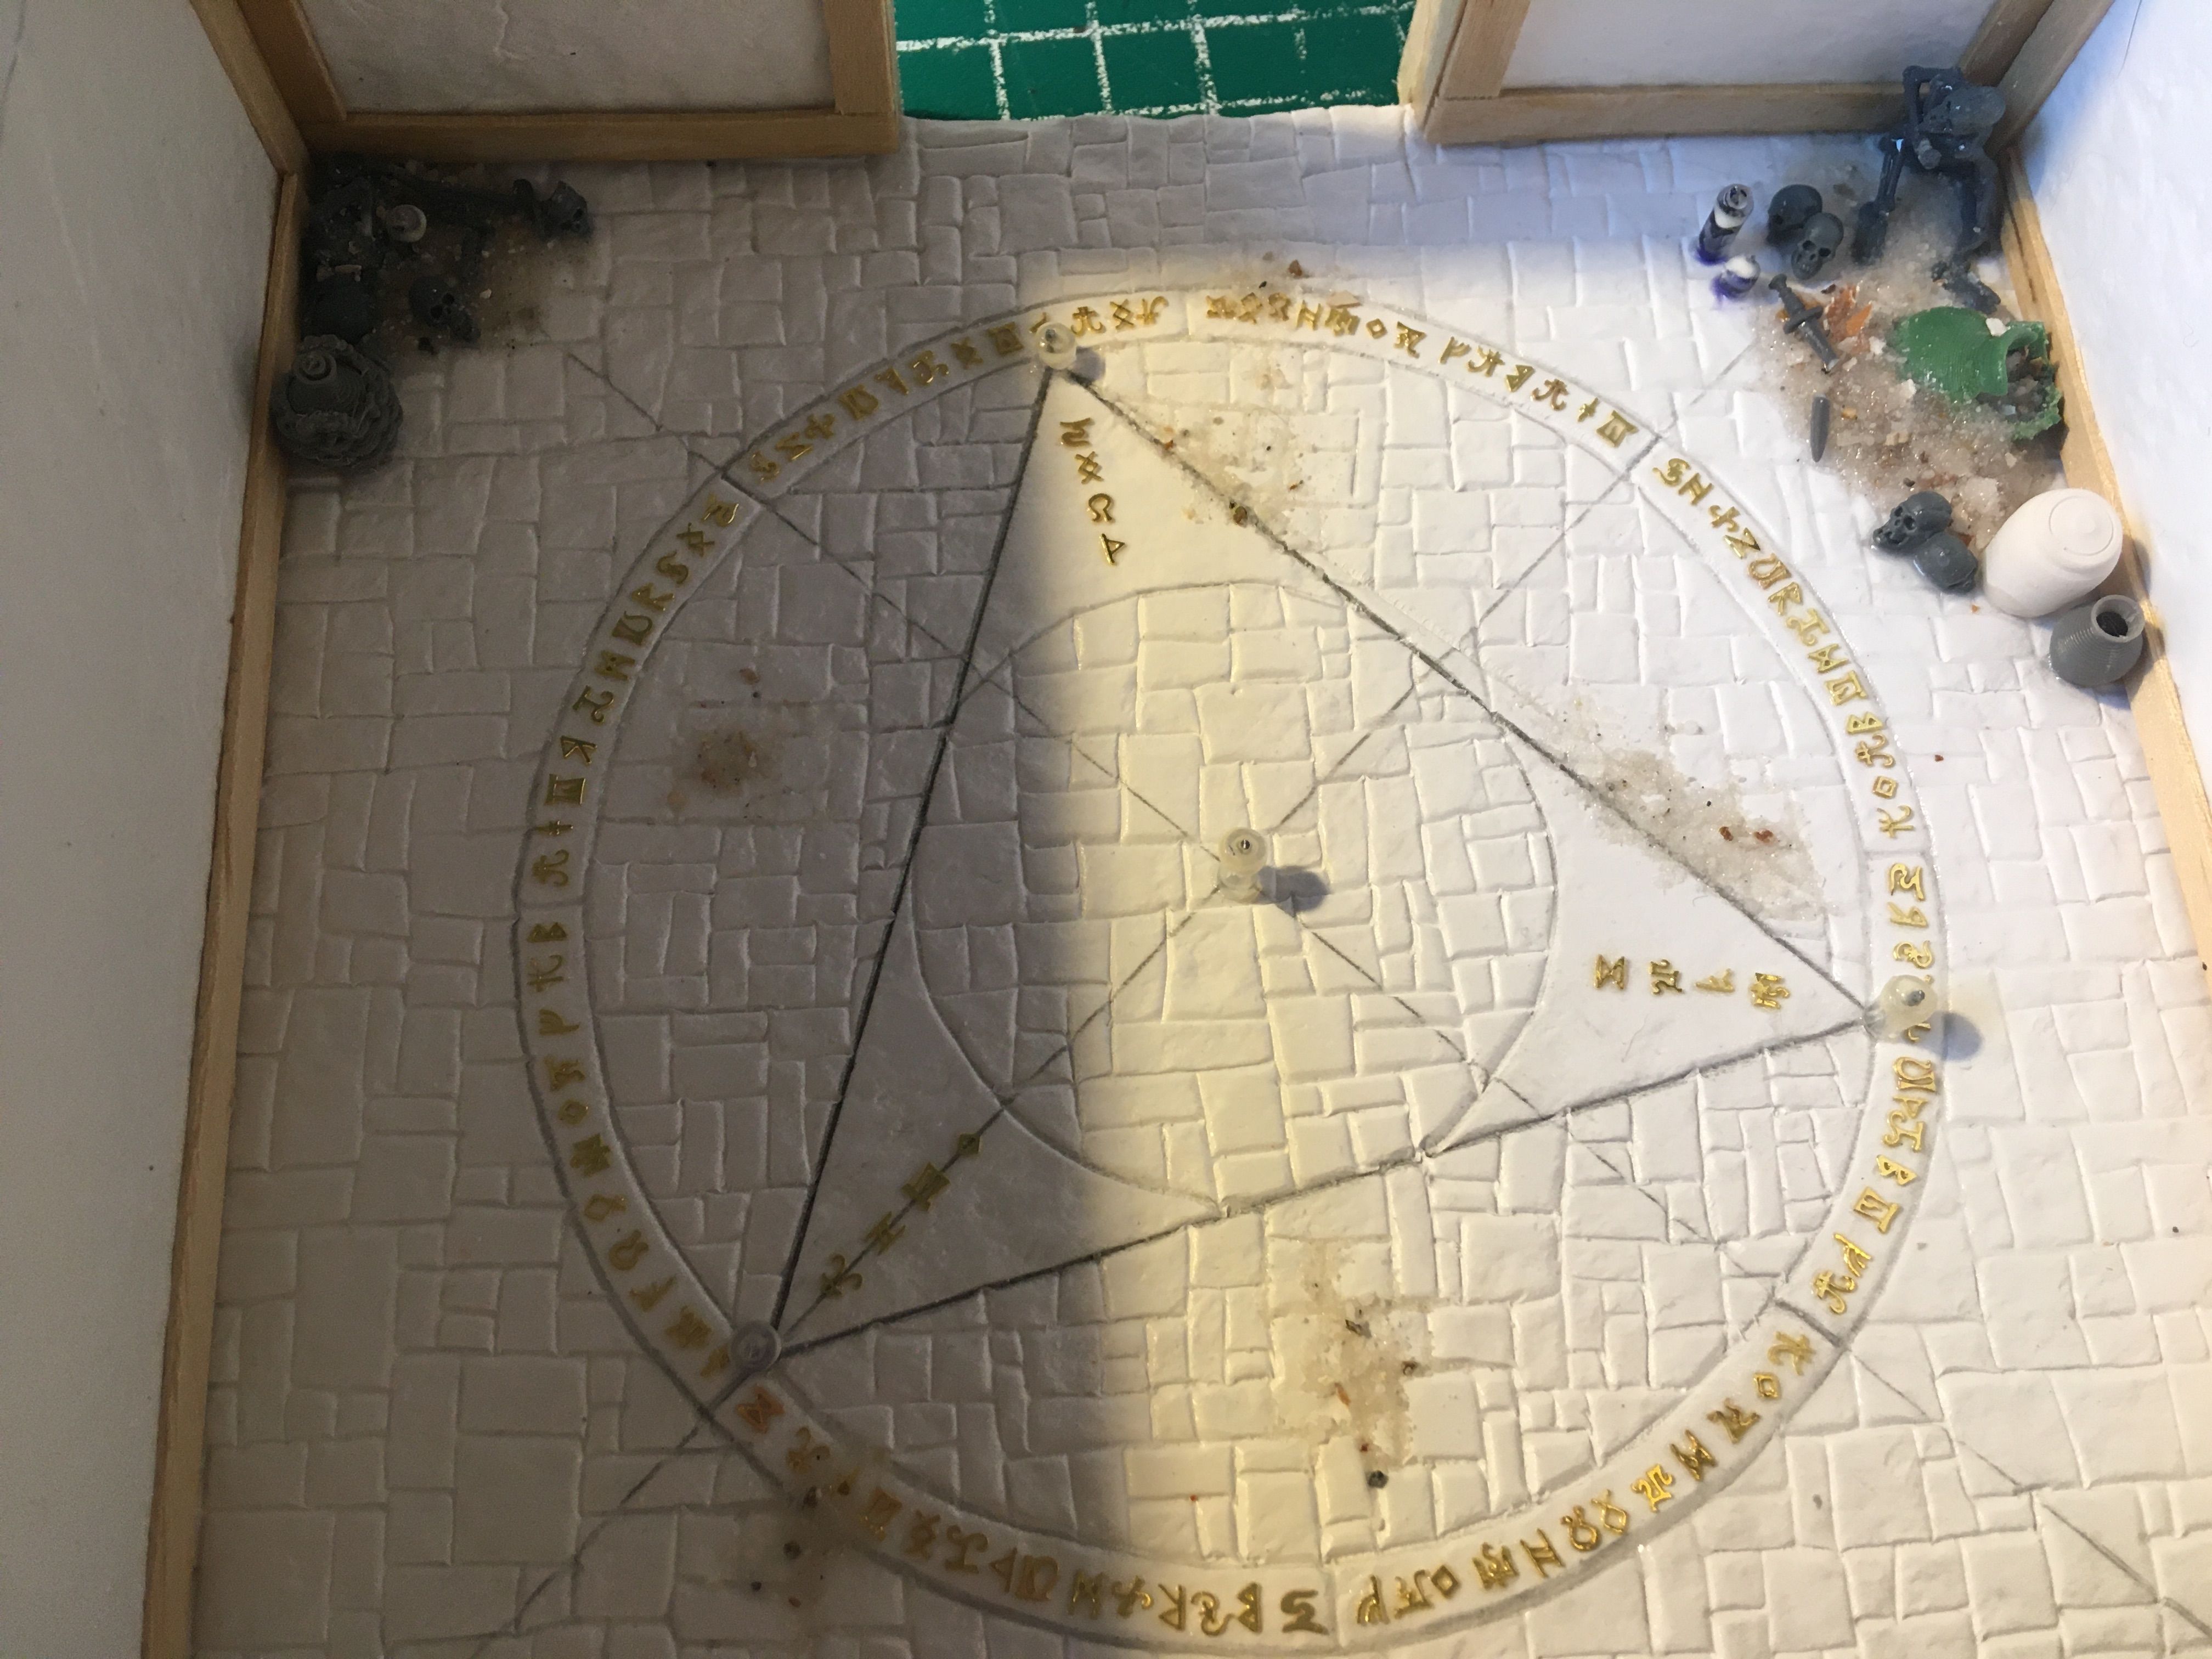
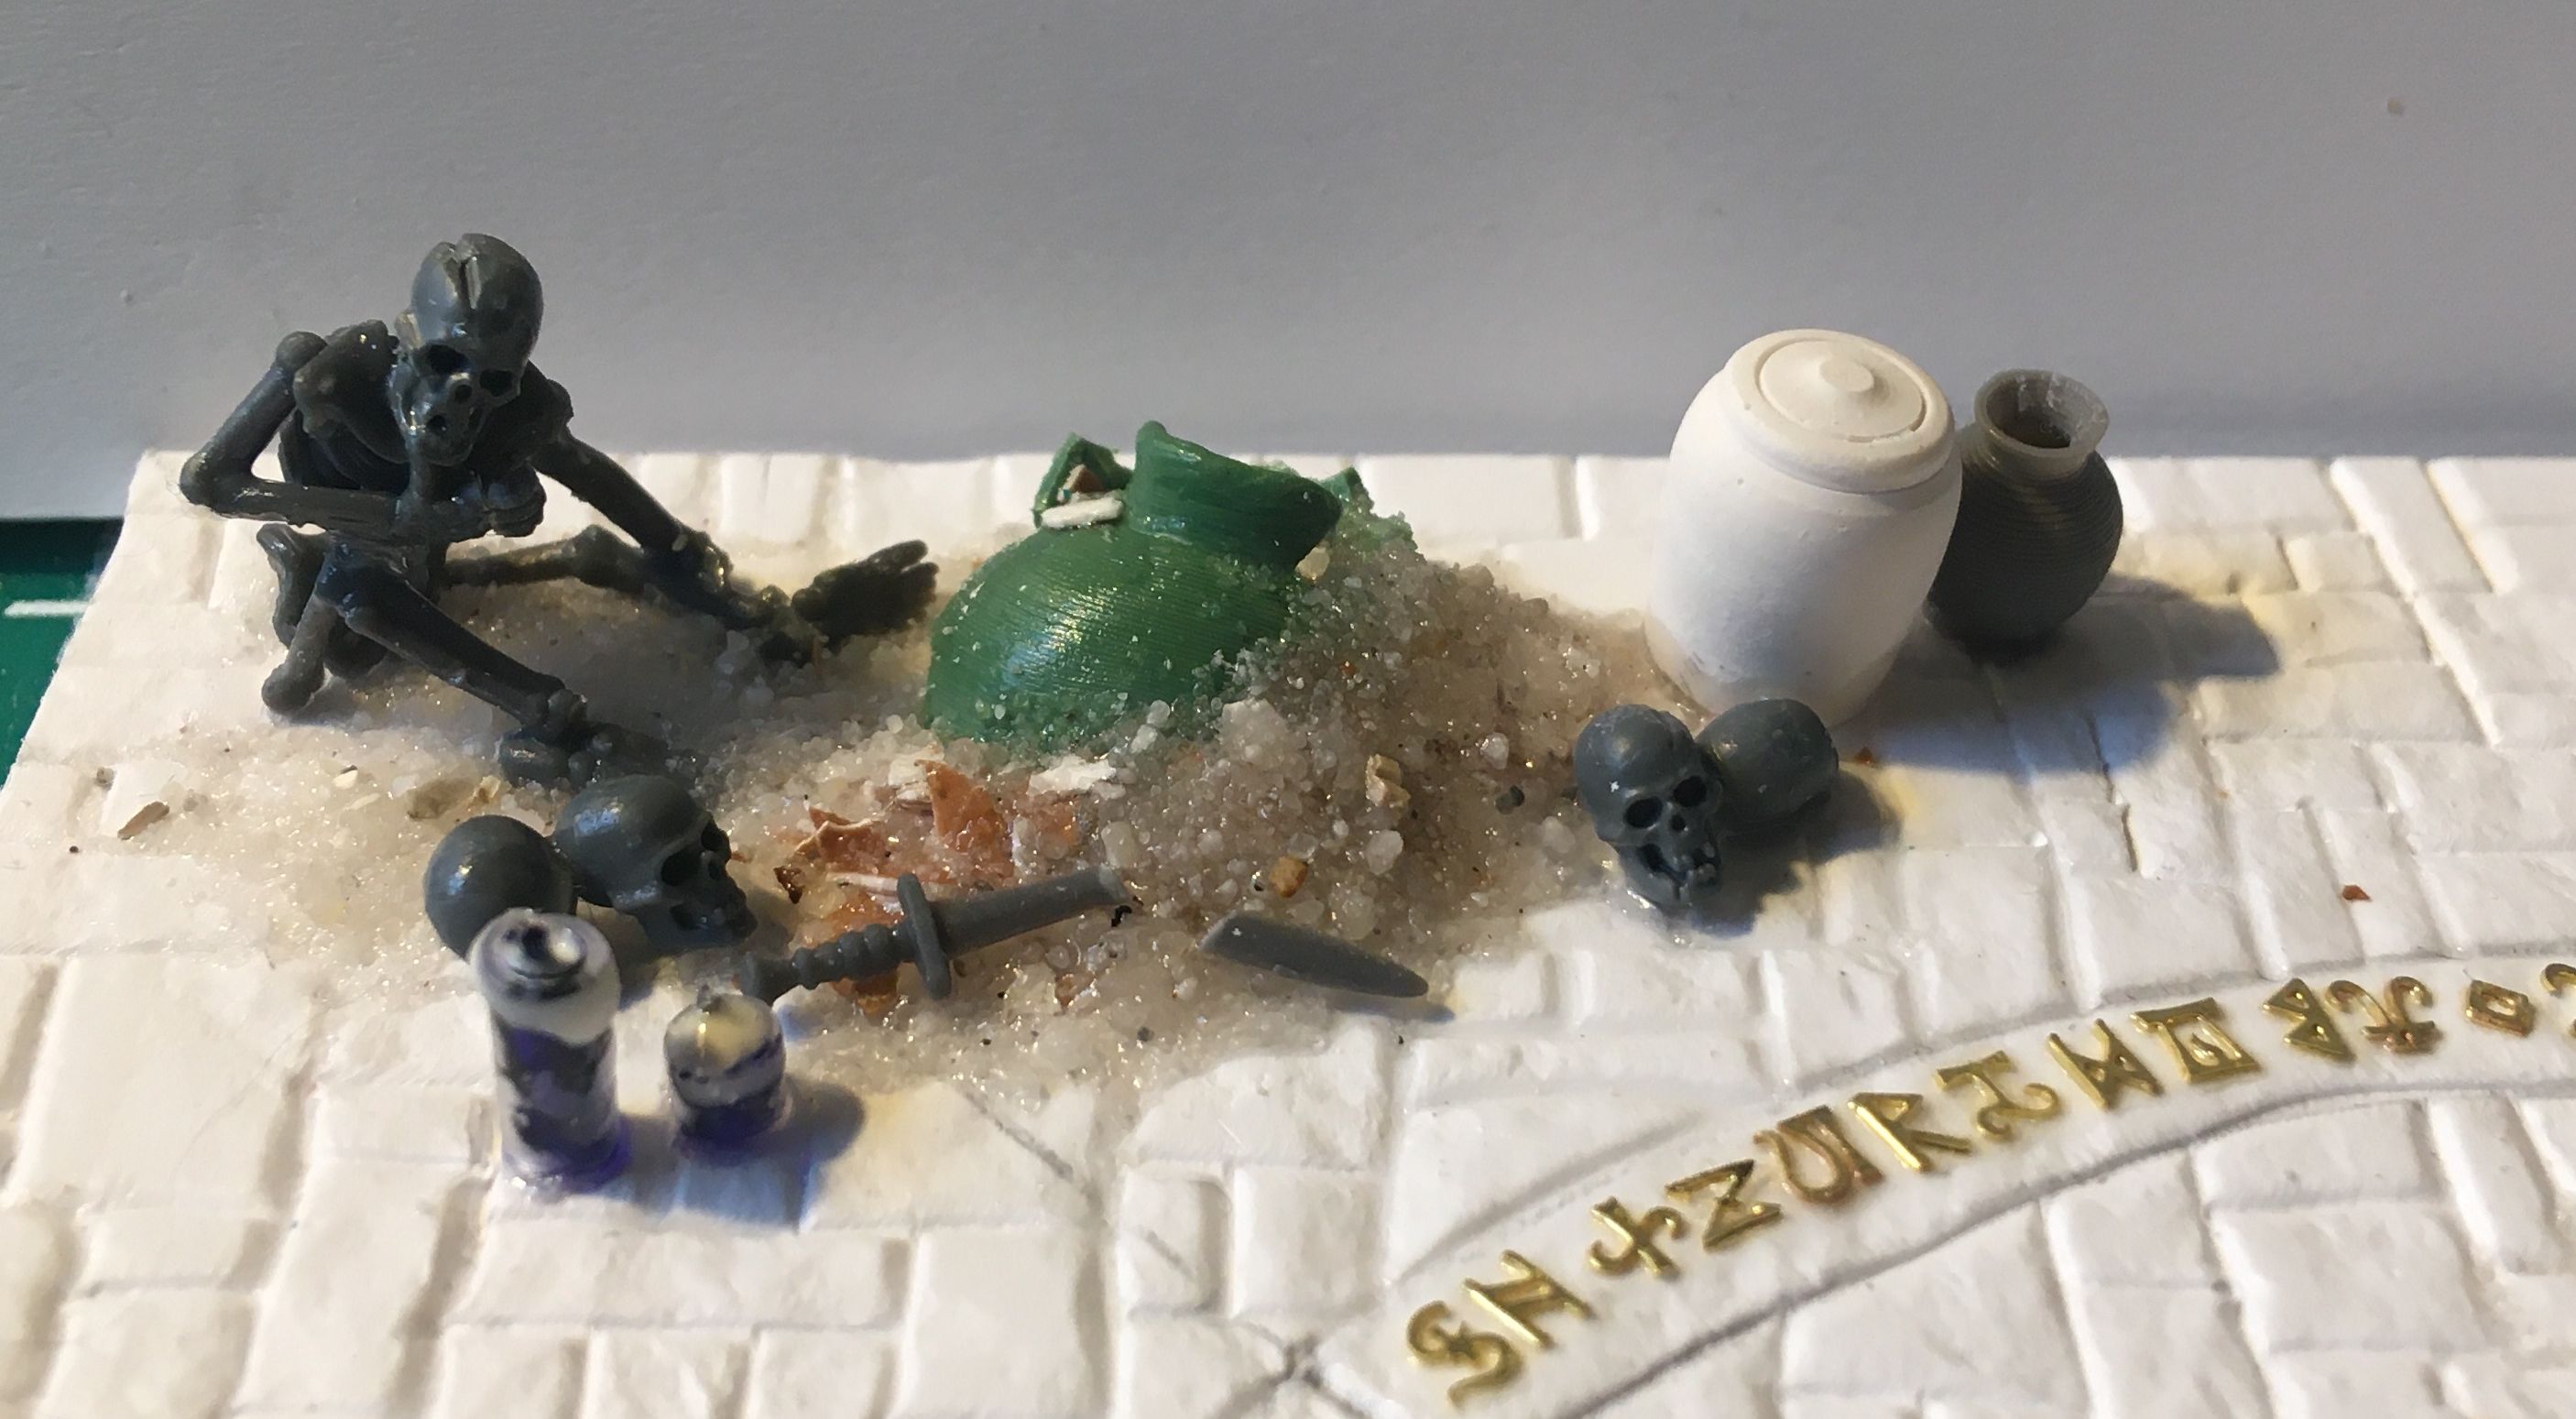
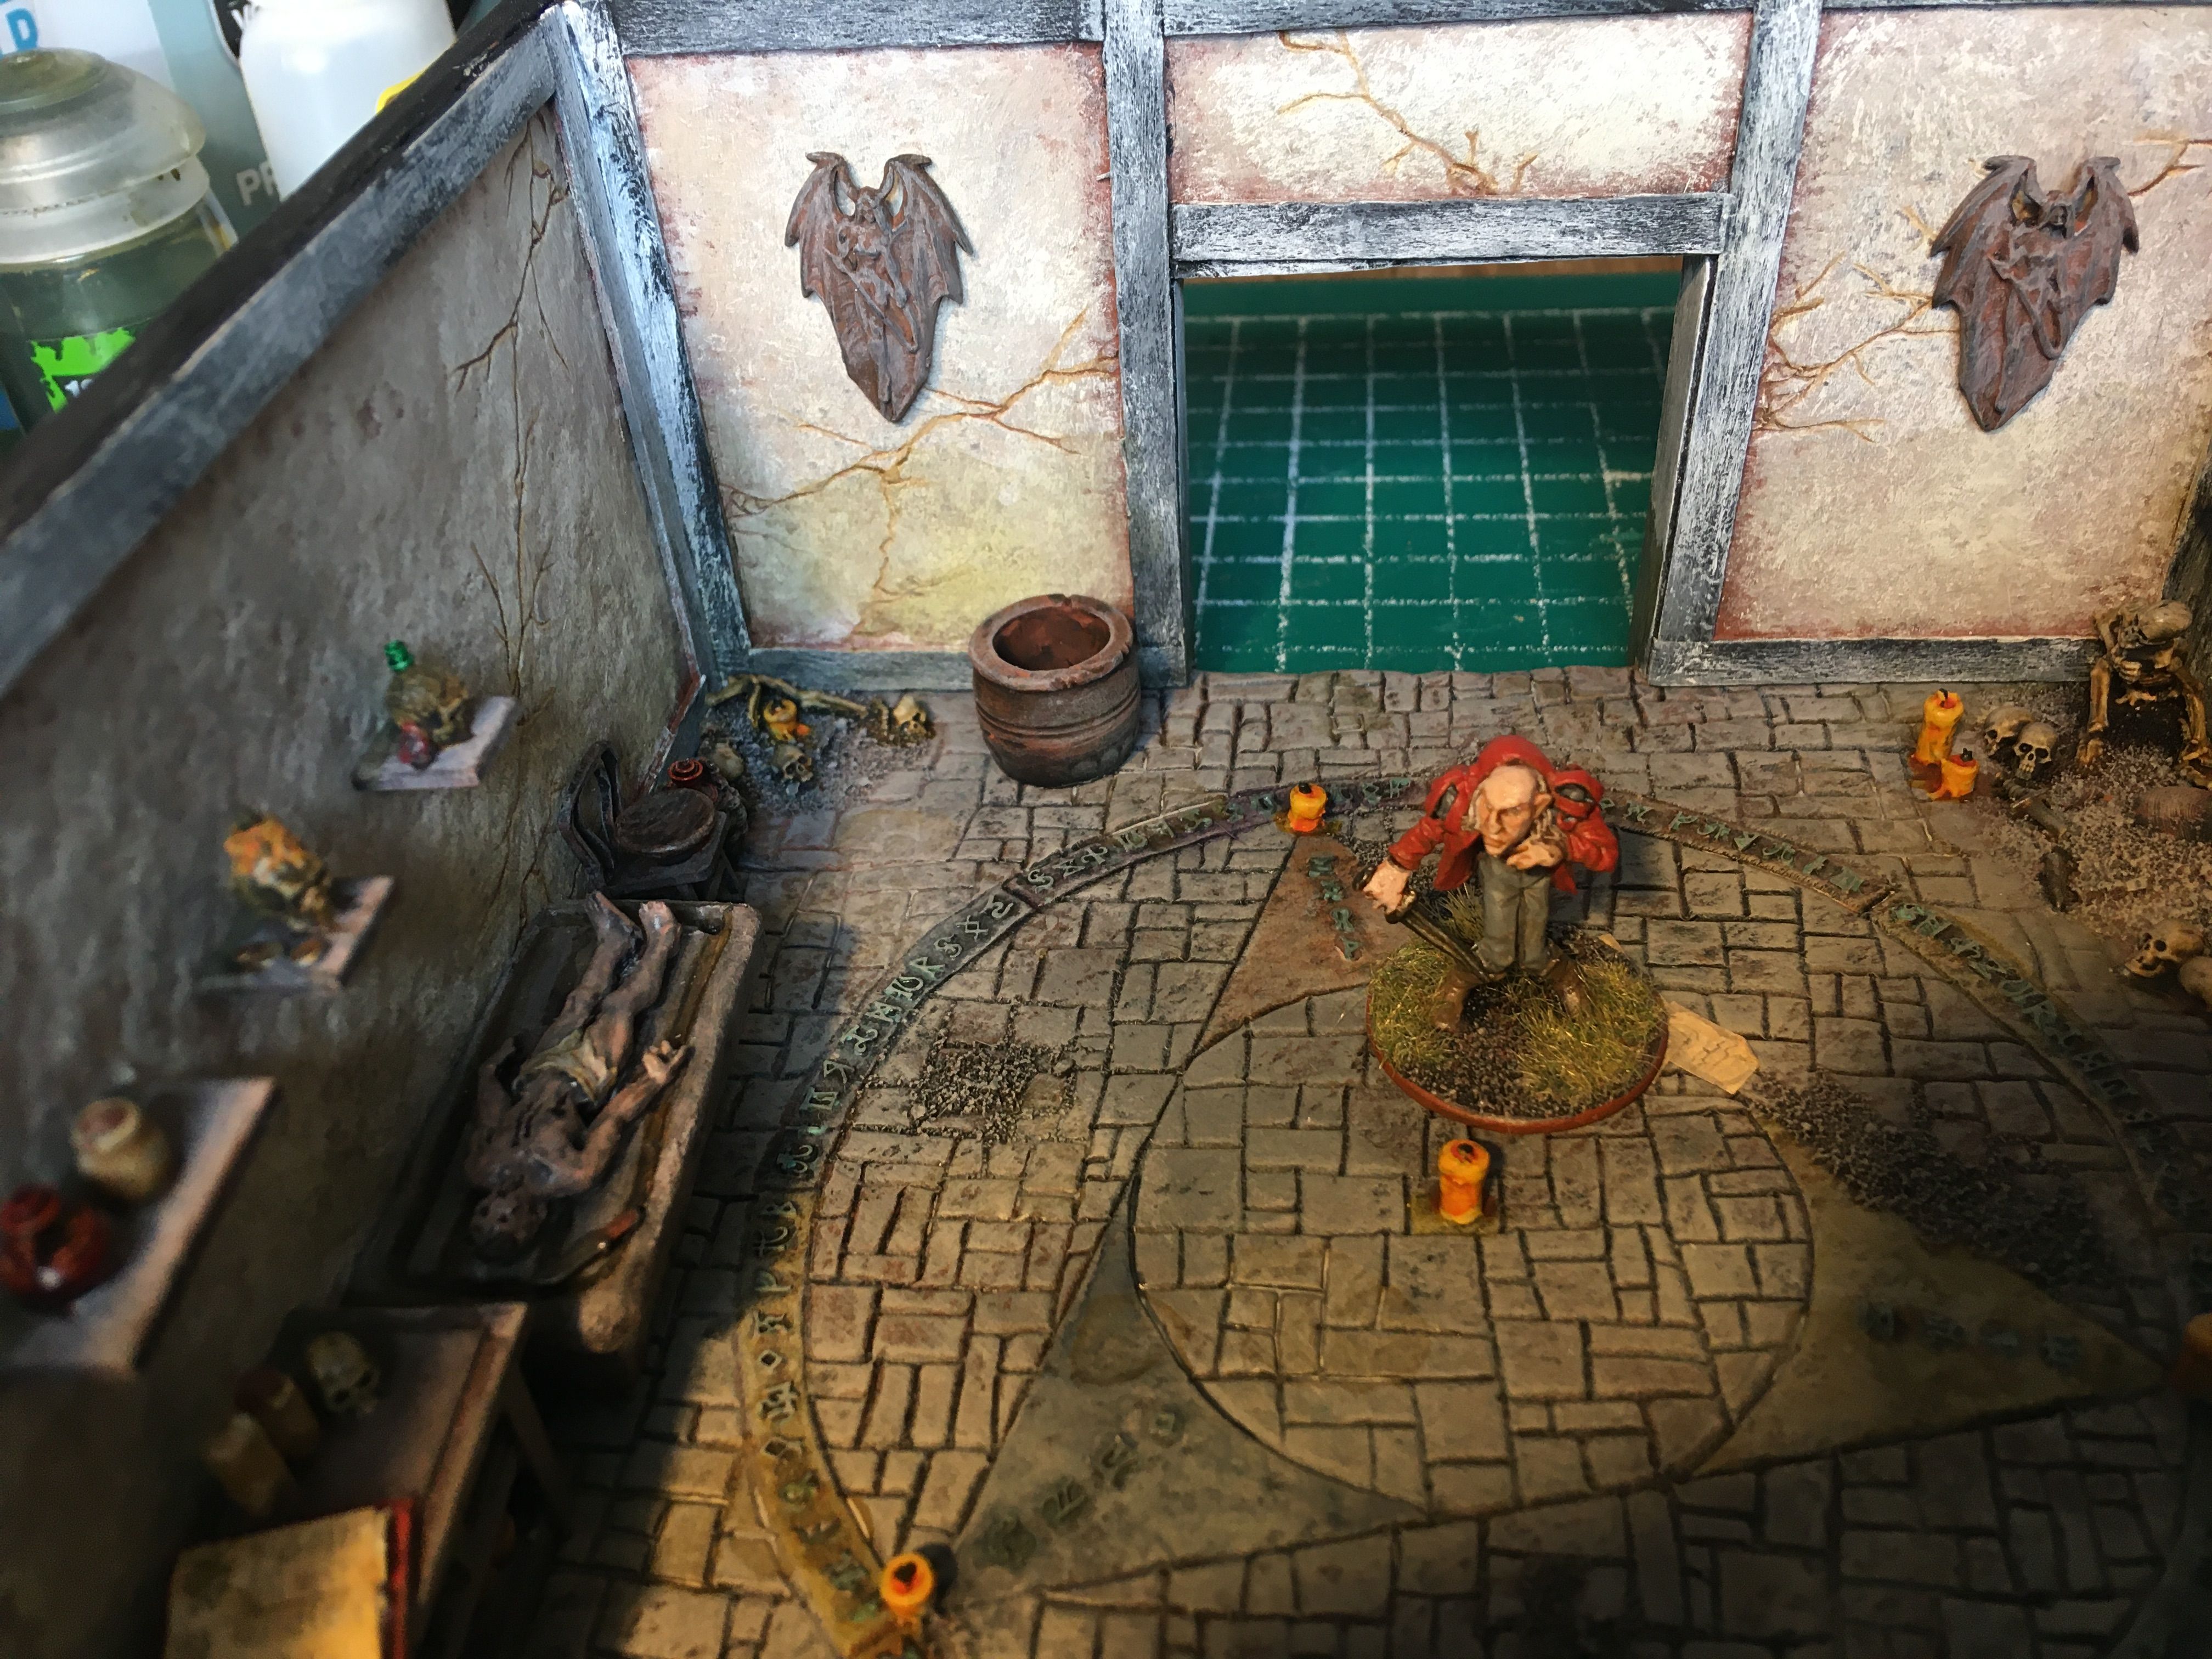
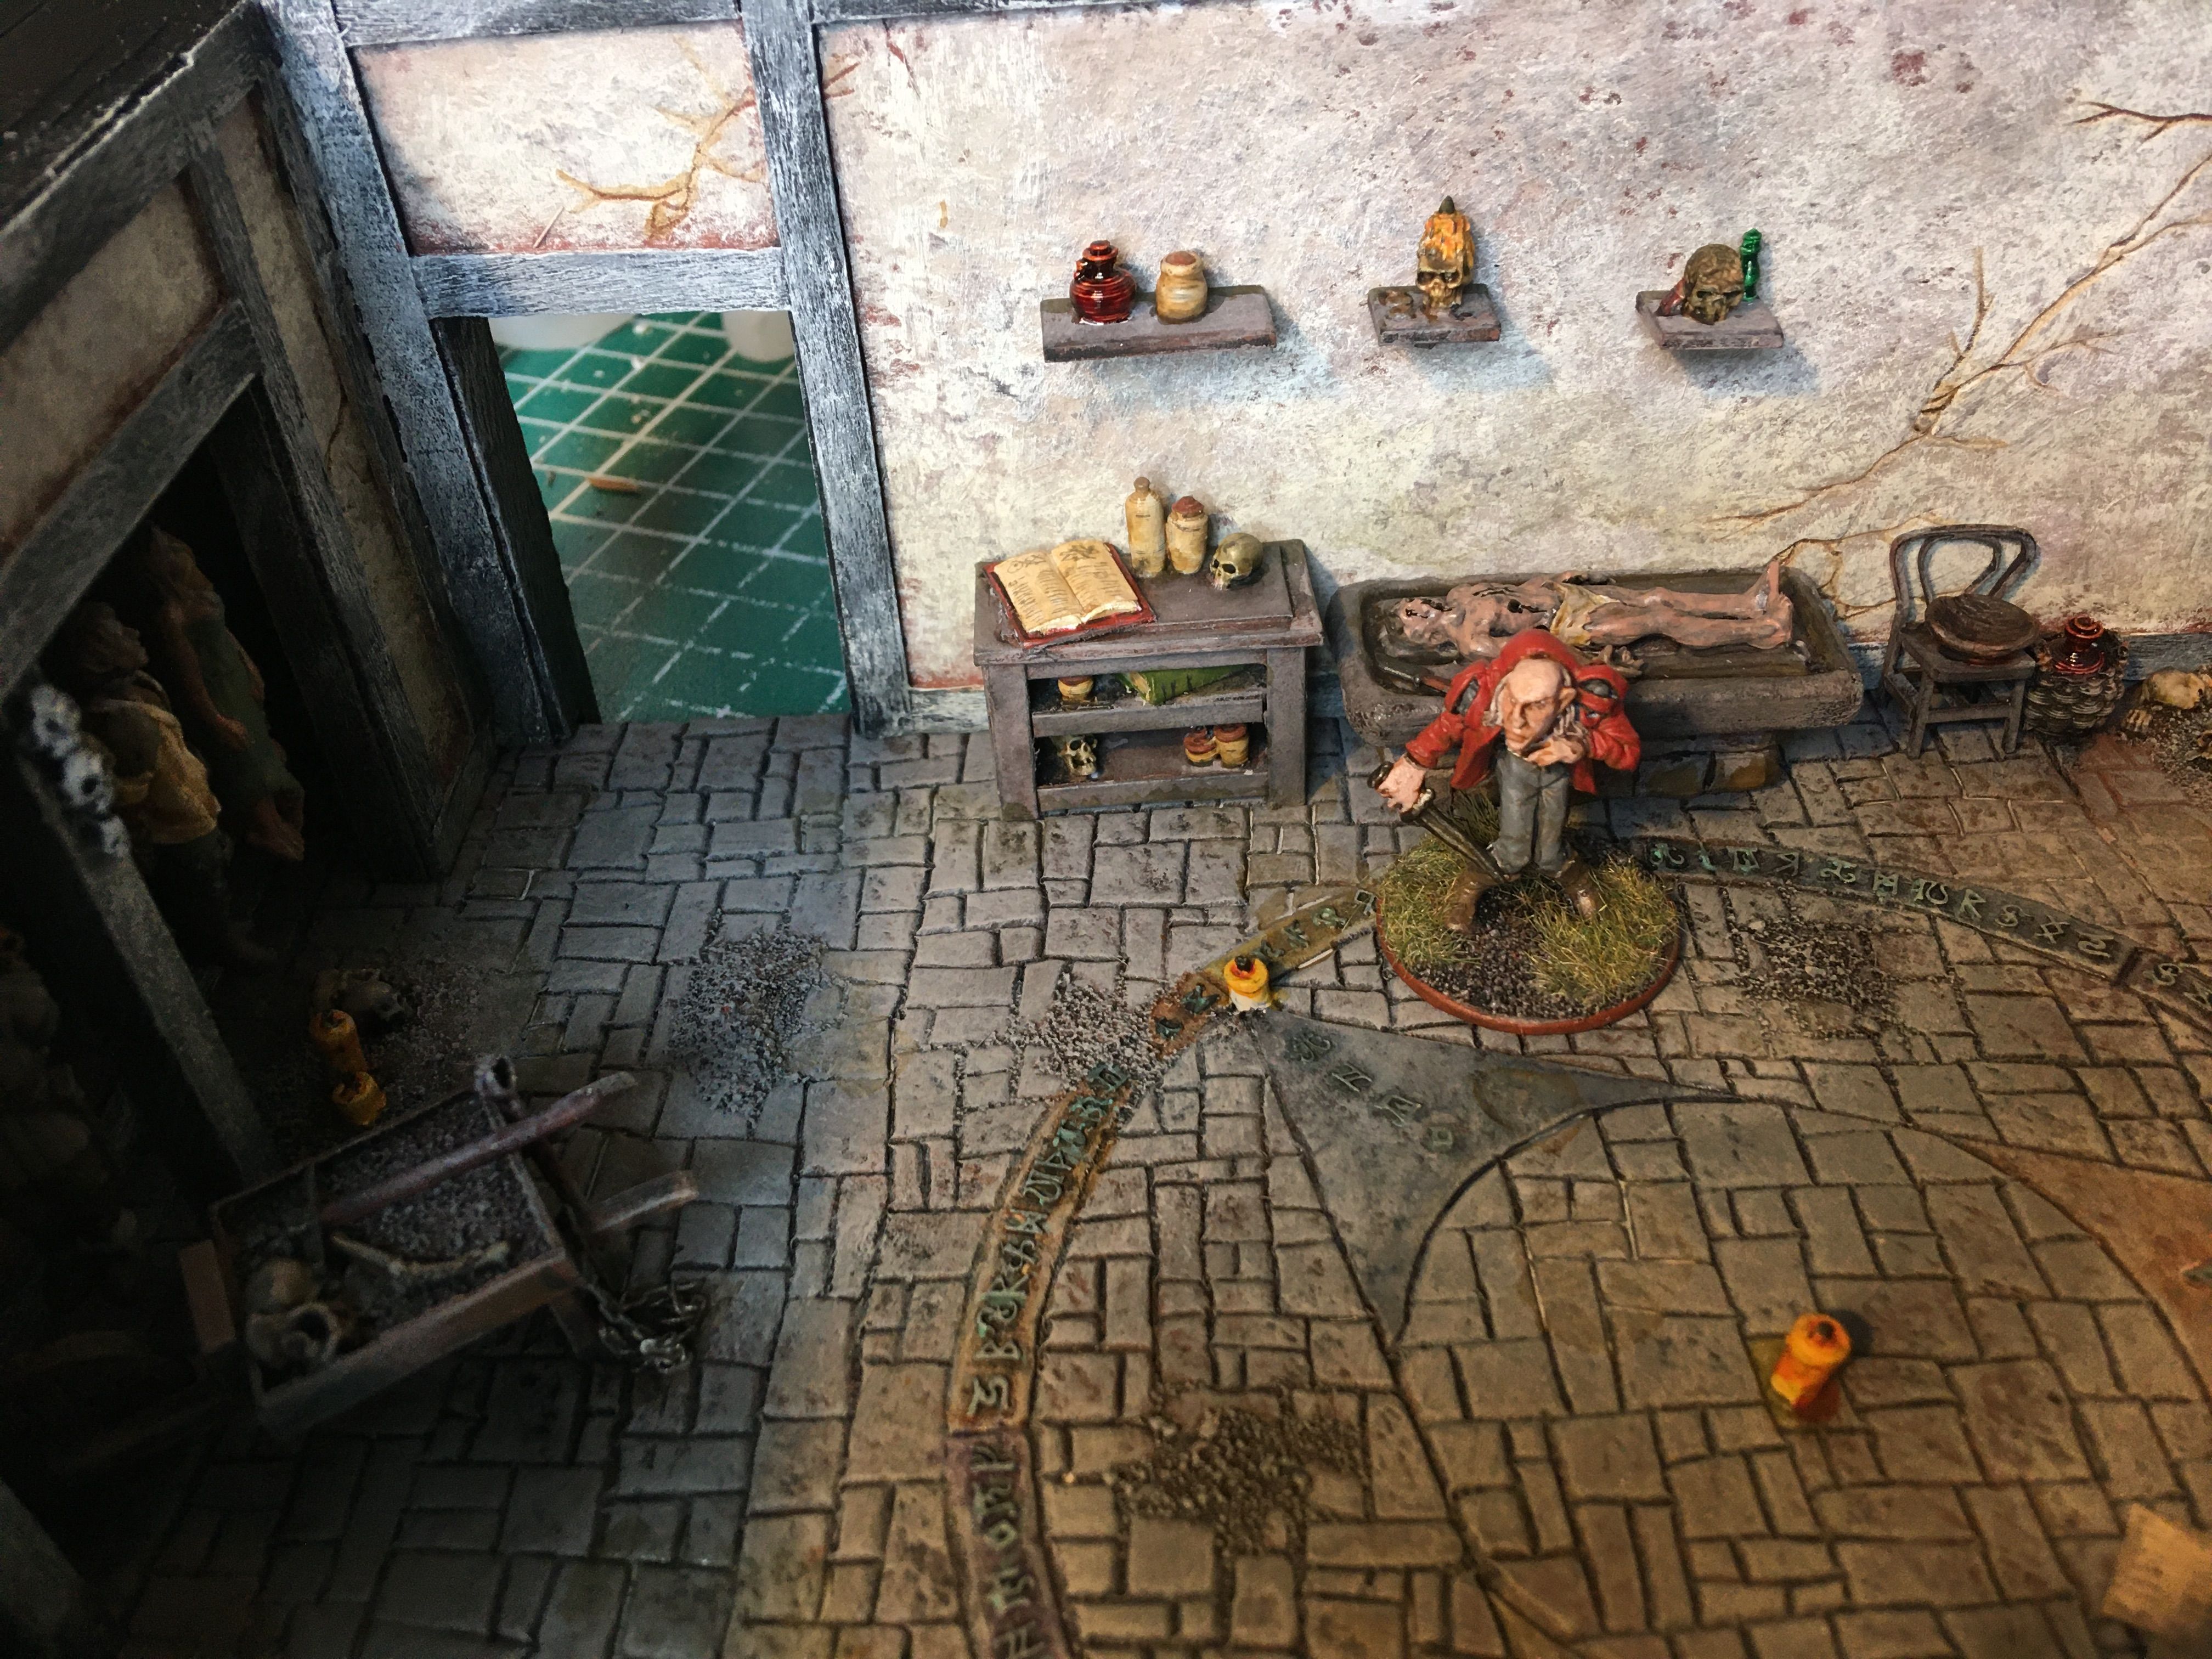
Next I built the building itself.  There is an arcane circle in the center with candles and some detritus strewn around the room. 


Here are some of the interior details from the floor.  


Some photos to show how the interior elements will work. 


I still need to work out some more details for the interior and then I will finish up the exterior of the build.  

Hope you like.