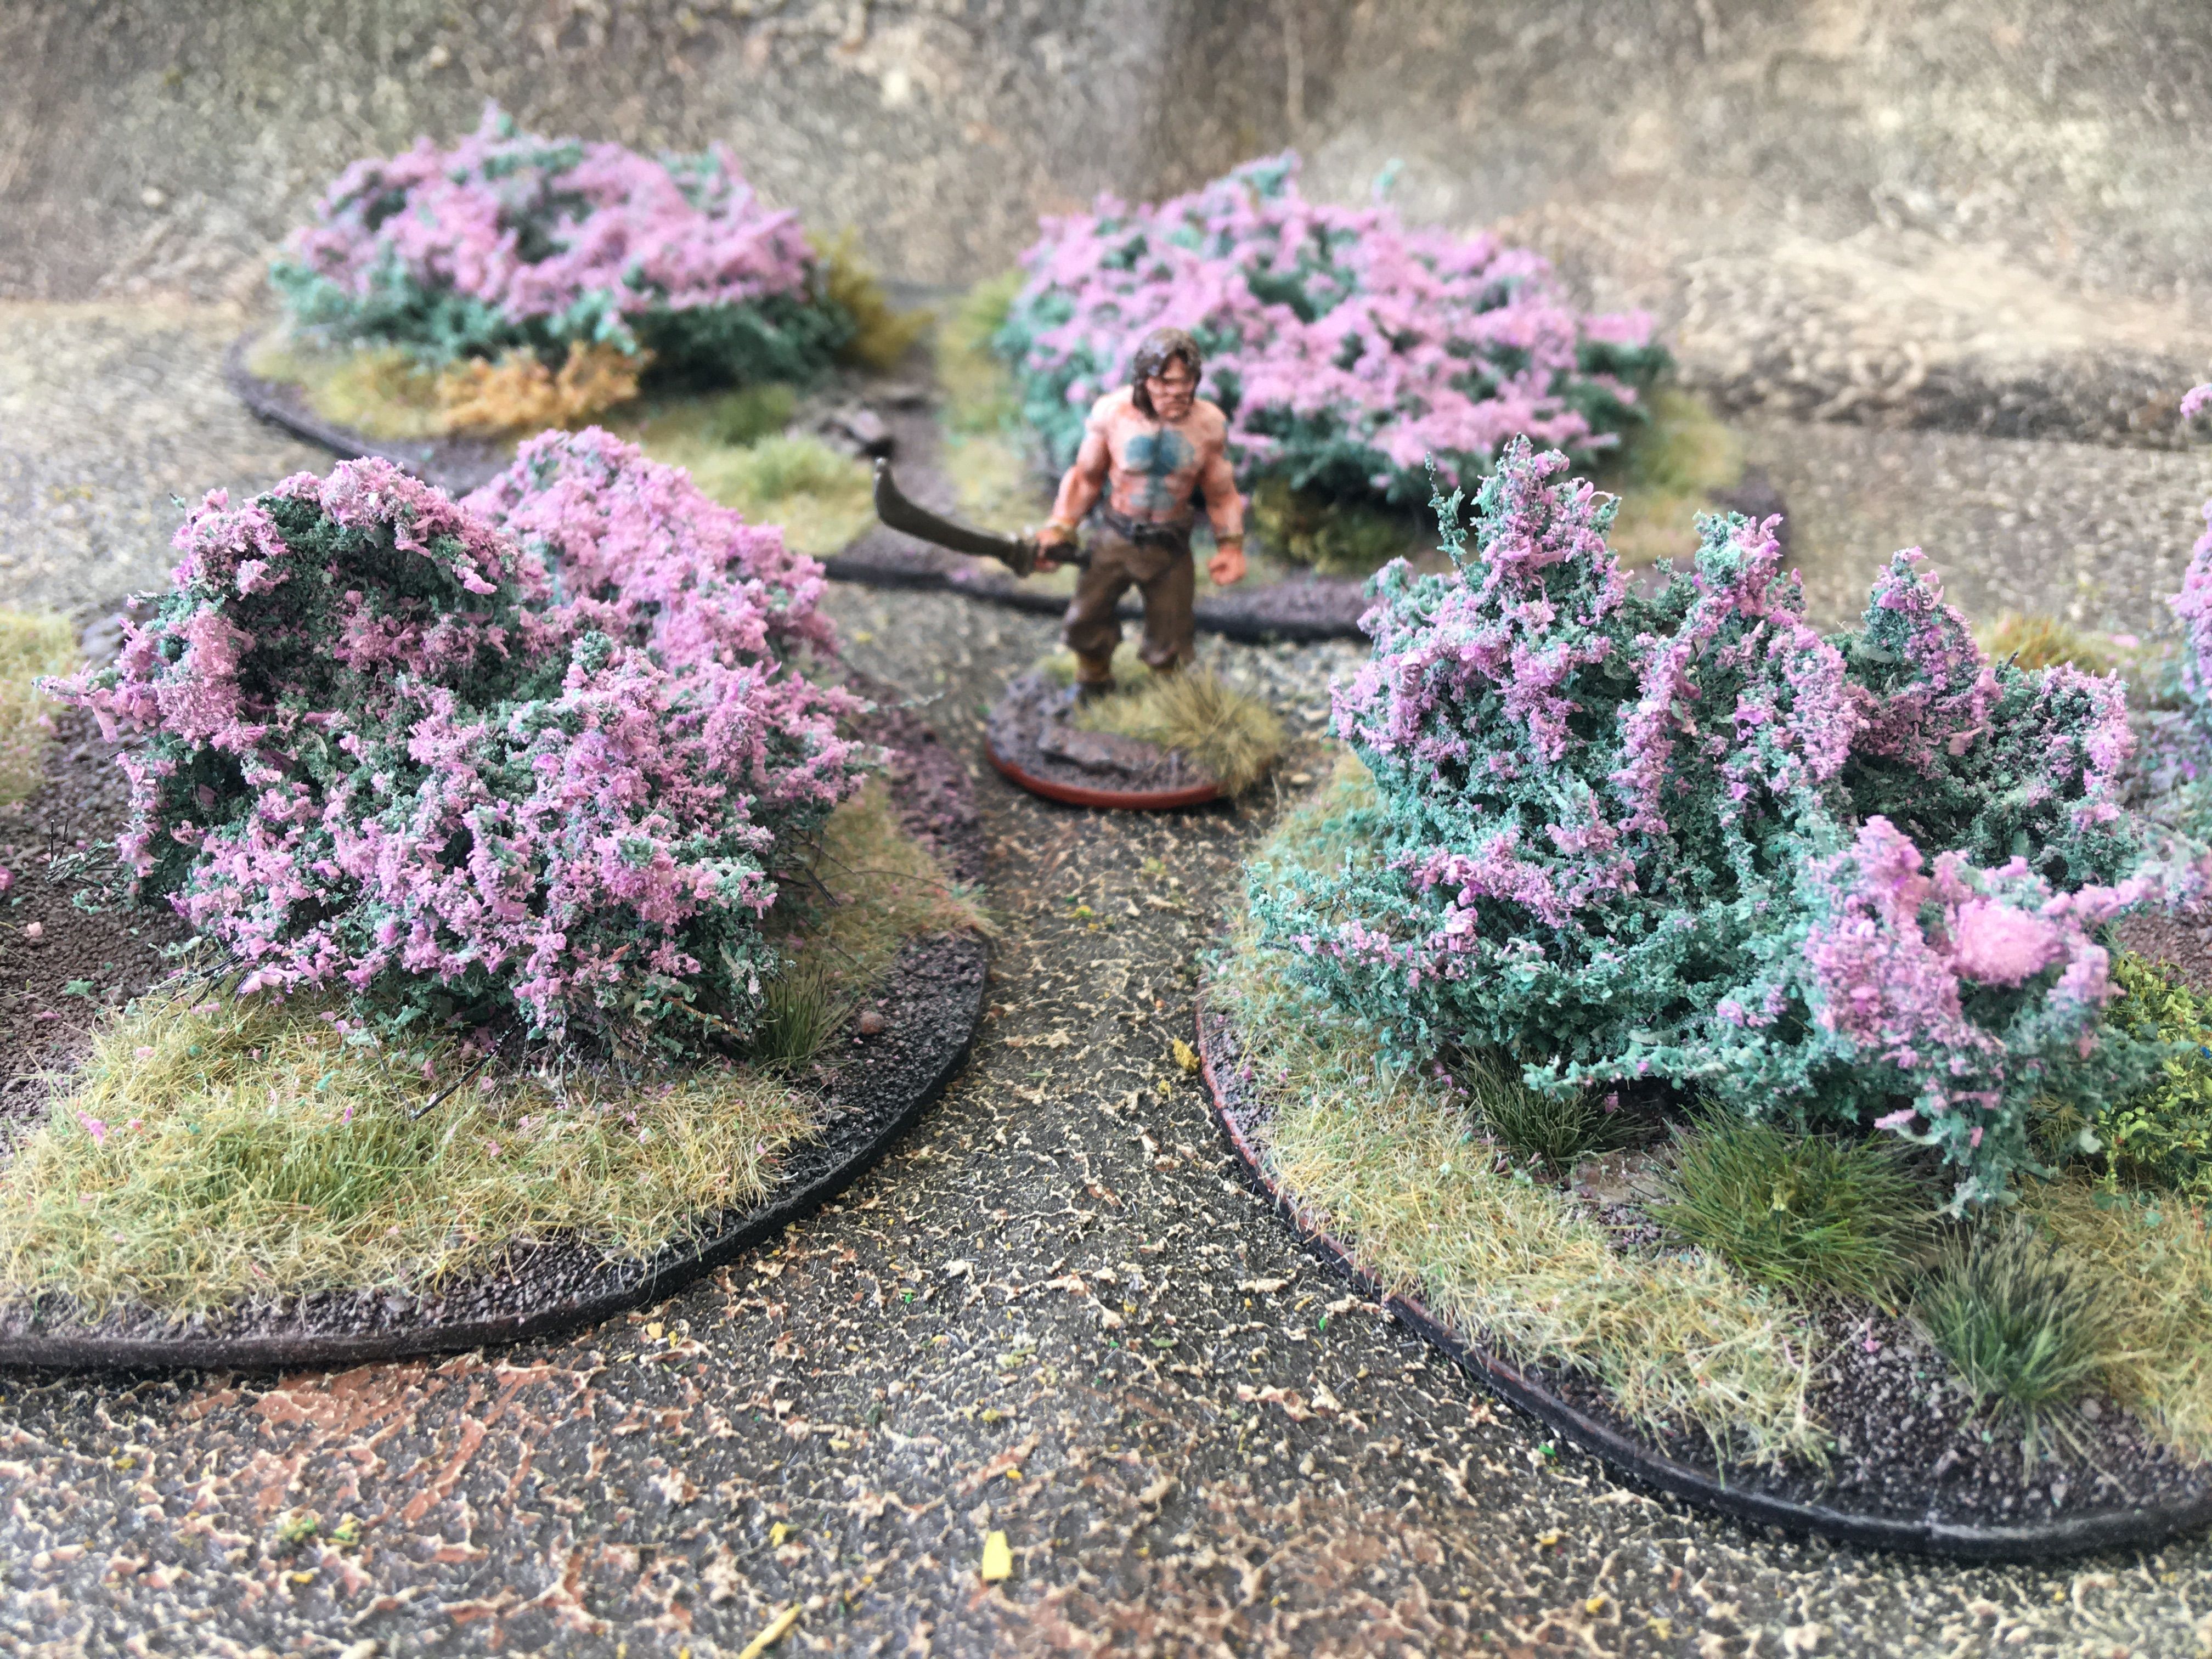
Rubberized Horse Hair, A how to if you can’t find it.
I did a similar toot ages ago but this is more complete.
I have been building terrain for wargames and painting
models for about forty years starting with Airfix and Testors kits. When I started doing diorama bases for my
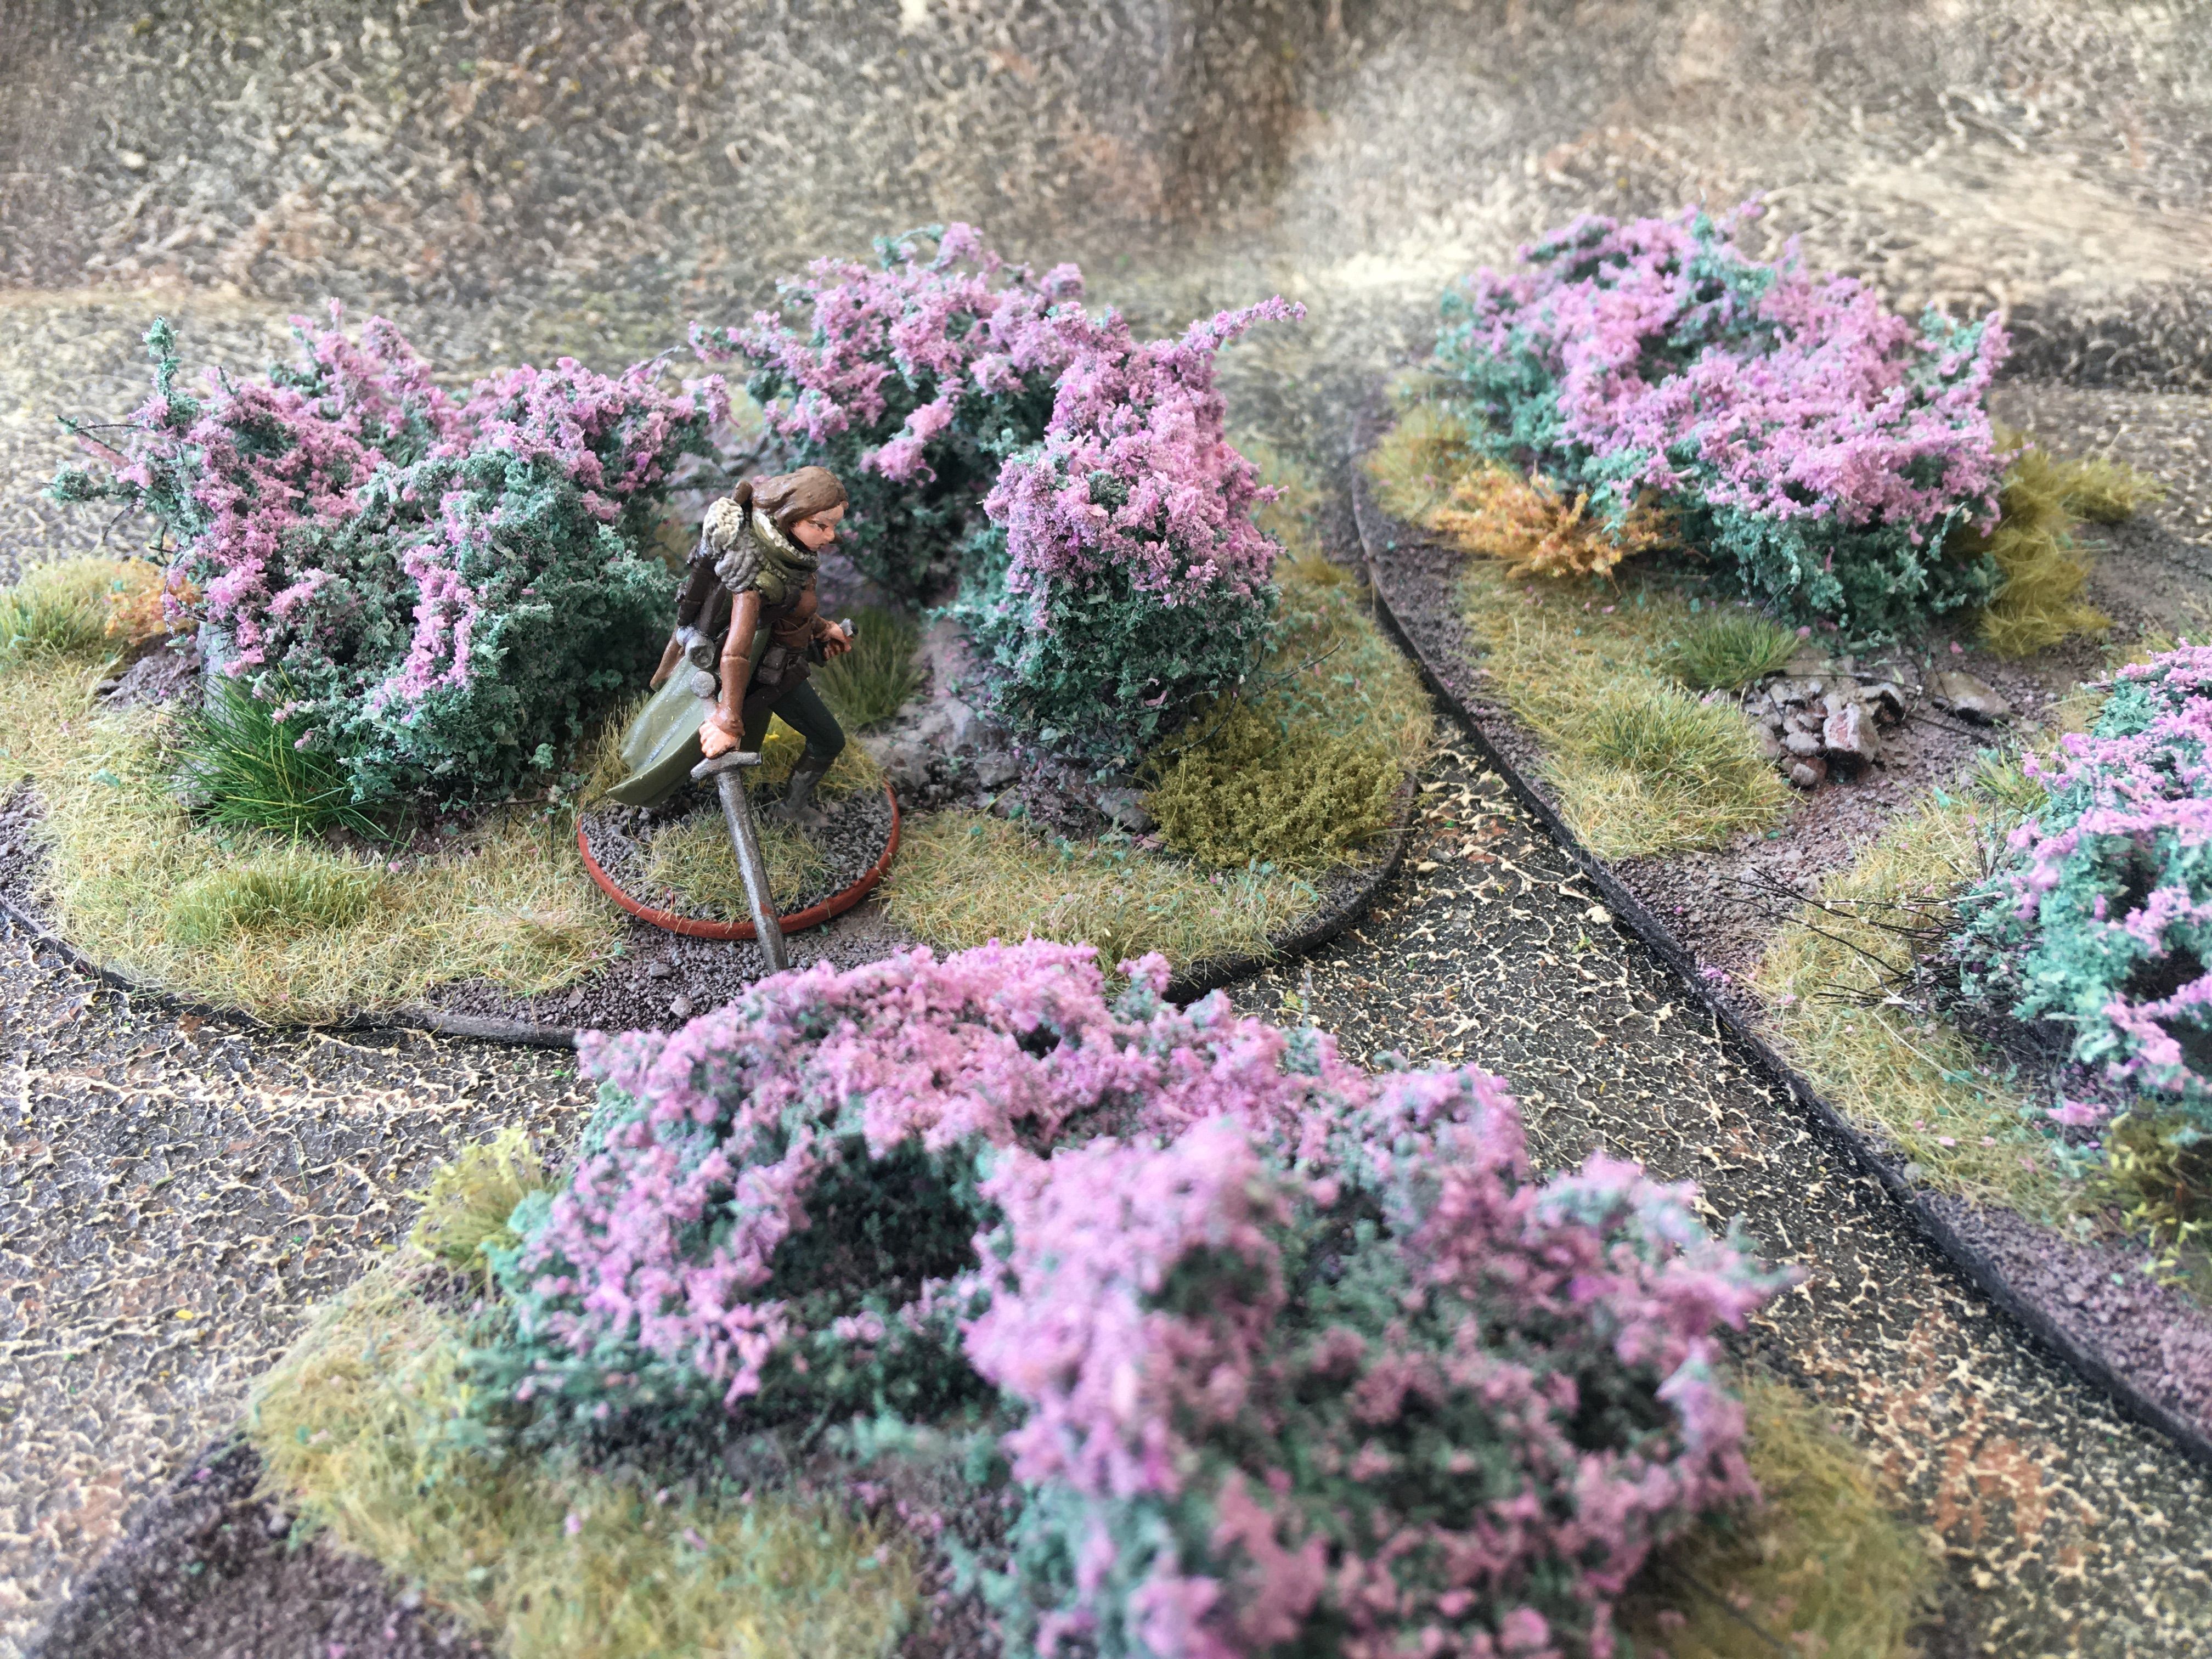
models I read as much as possible to make them realistic. I noticed that rubberized horsehair was
always mentioned in railroad and modeling magazines to represent brush and
branches. As I grew up in the states I
was never able to get my hands on it as the only supplier I found was a vintage
upholstery place in San Francisco and they were prohibitively expensive. Now that I am in the UK it is readily
available but I wanted to write a toot for folks that can’t find it.
Materials:
A pony (a horse will do but Pony’s are more fun because they
are naughty)
Mane and tail comb
Dishwashing liquid
A wash bin.
Latex Gloves
Mold Making Latex
Paper towels, disposable sticks and a surface that either
will not stick to Latex or newspaper to protect surfaces.
Step one.
Buy your daughter or wife a pony. This will be the expensive part but you have
to make sacrifices for terrain. You can
justify the purchase because they have always wanted one.
Have your daughter or wife take care of both ends of the pony to keep it alive.
Make sure they brush the pony’s mane and tale regularly and collect the
excess hairs in a bag for later use.
Once you have collected enough hair (I do a carrier bag full
at a time) you are ready for stage 2.
Note: Stage 1 can
take some months so try not to rely on this technique if you have a deadline.
Step two.
Cleaning the hair.
Prepare your materials.
You will need to wash the pony hair as they are greasy creatures who
live outside.
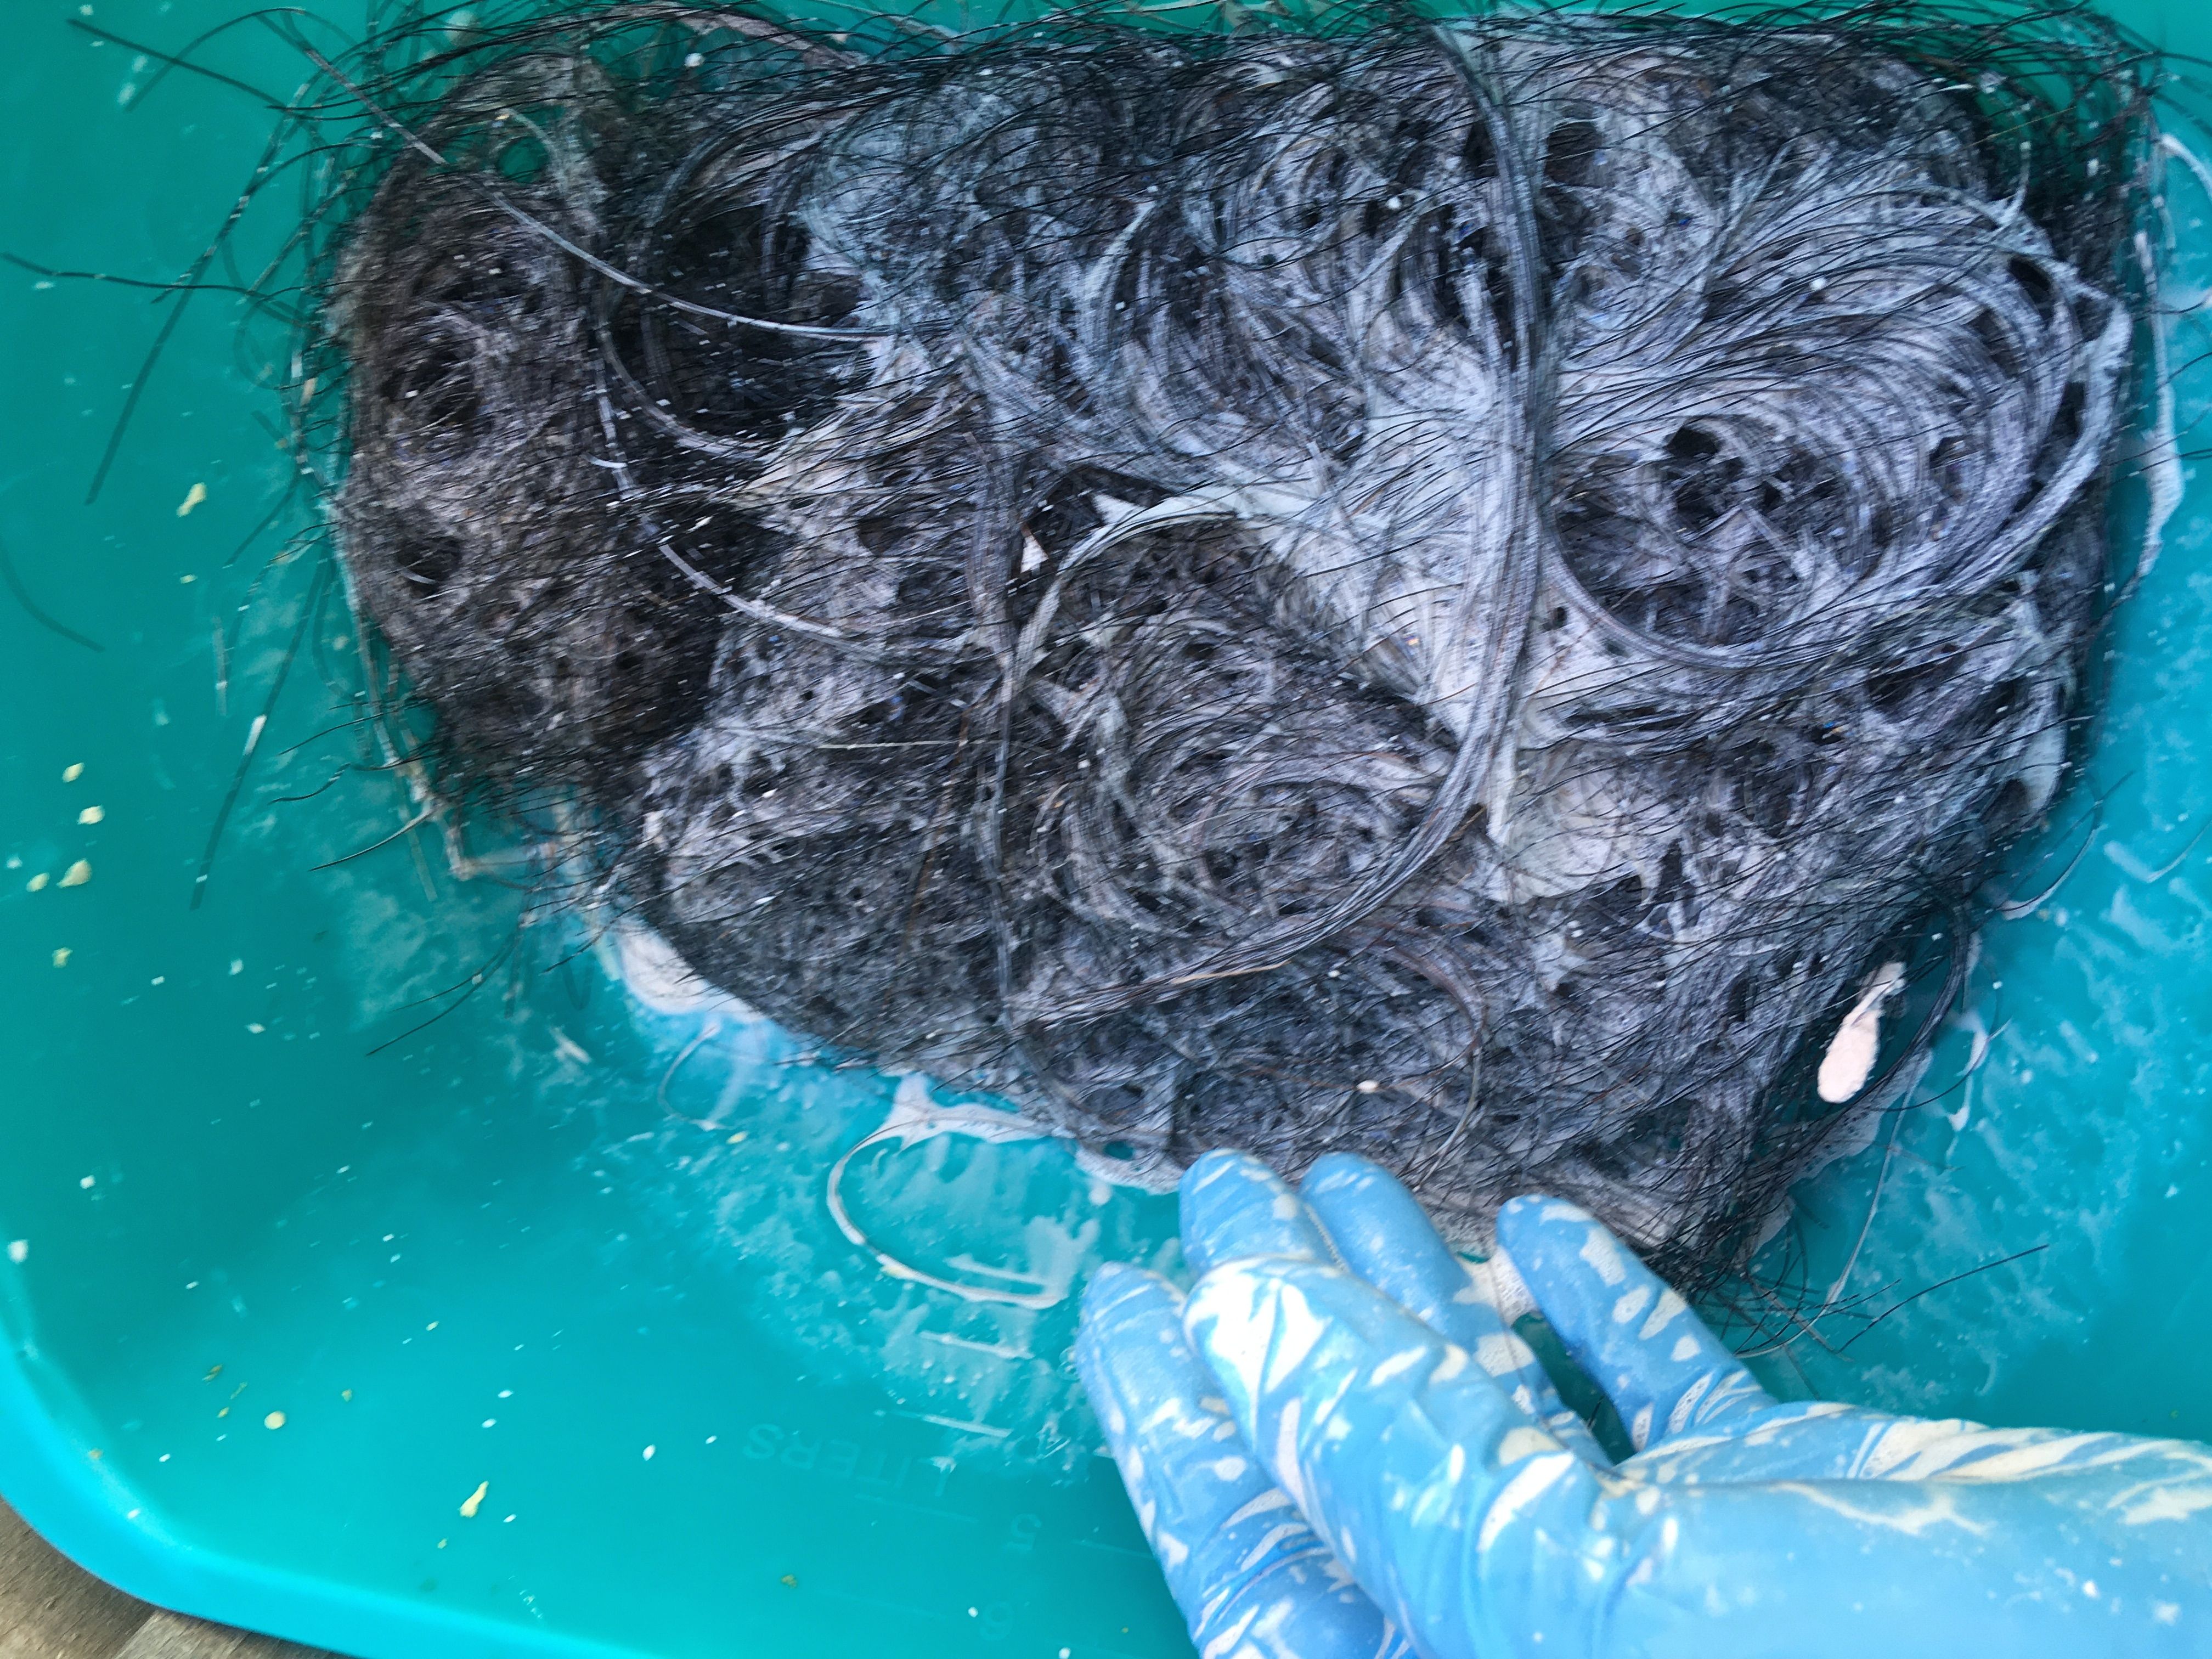
Collect your bag of hair and put it into a wash bin.
Using dishwashing liquid, and water soak the hair in hot
soapy water. Once it has soaked for a
couple of hours, swirl the hair around to clean it off and to mix up the
individual fibers.
I usually do this twice because pony’s are greasy creatures
who live outside.
Strain the water from the bin.
Pick out hay and straw from the hairs.
Put the hair back in the bin and soak in clean water for at
least two hours to rinse swirling it around again to mix fibers.
Pick out hay and straw.
Soak it at least two more times picking out hay and straw in
between each rinse.
Step 3.
Forming
After straining the water the last time and picking out hay
and straw the hair has to be compressed in some way. I use two tatty old cookie sheets with layers
of paper towel in between the metal and the hair.
Let the hair dry while being compressed. What you are looking for is about an inch
thick matt of hair.
Step 4.
Adding the rubber.
Once you have a pretty gross looking lump of dried hair you
will need your wash bin again.
Push the hair matt into the bin and pour watered down mold
making latex onto it. The exact ratio
will be up to the latex you are able to find but what I can tell you is to mix
water into the latex until it is the consistency of milk. Opaque and runny. I also use a drop dish soap in the mix to
break the surface tension of the solution so it will permeate the hair.
Pour a modest amount of the diluted latex onto the mass of
hair and using your hand squeeze the matt until the all the hairs are coated in
the solution.
I should have mentioned putting on a glove first.
Step 5.
Drying the finished product.
You will need a clean surface that you can either sacrifice
(newspaper and the like) or that will not adhere to latex.
My personal preference is a silicone cookie sheet that I use
as a work surface for larger projects.
Build a small raised scaffolding out of disposable materials
such as branches, bamboo sewers or bamboo polls over the surface.
Place the matt of rubberized hair onto the scaffolding in
the sun.
The important bit:
You must turn the mass of rubberized hair over several times
while it is drying to ensure that latex does not build up in between the fibers
on the bottom of the mass.
Step 6.
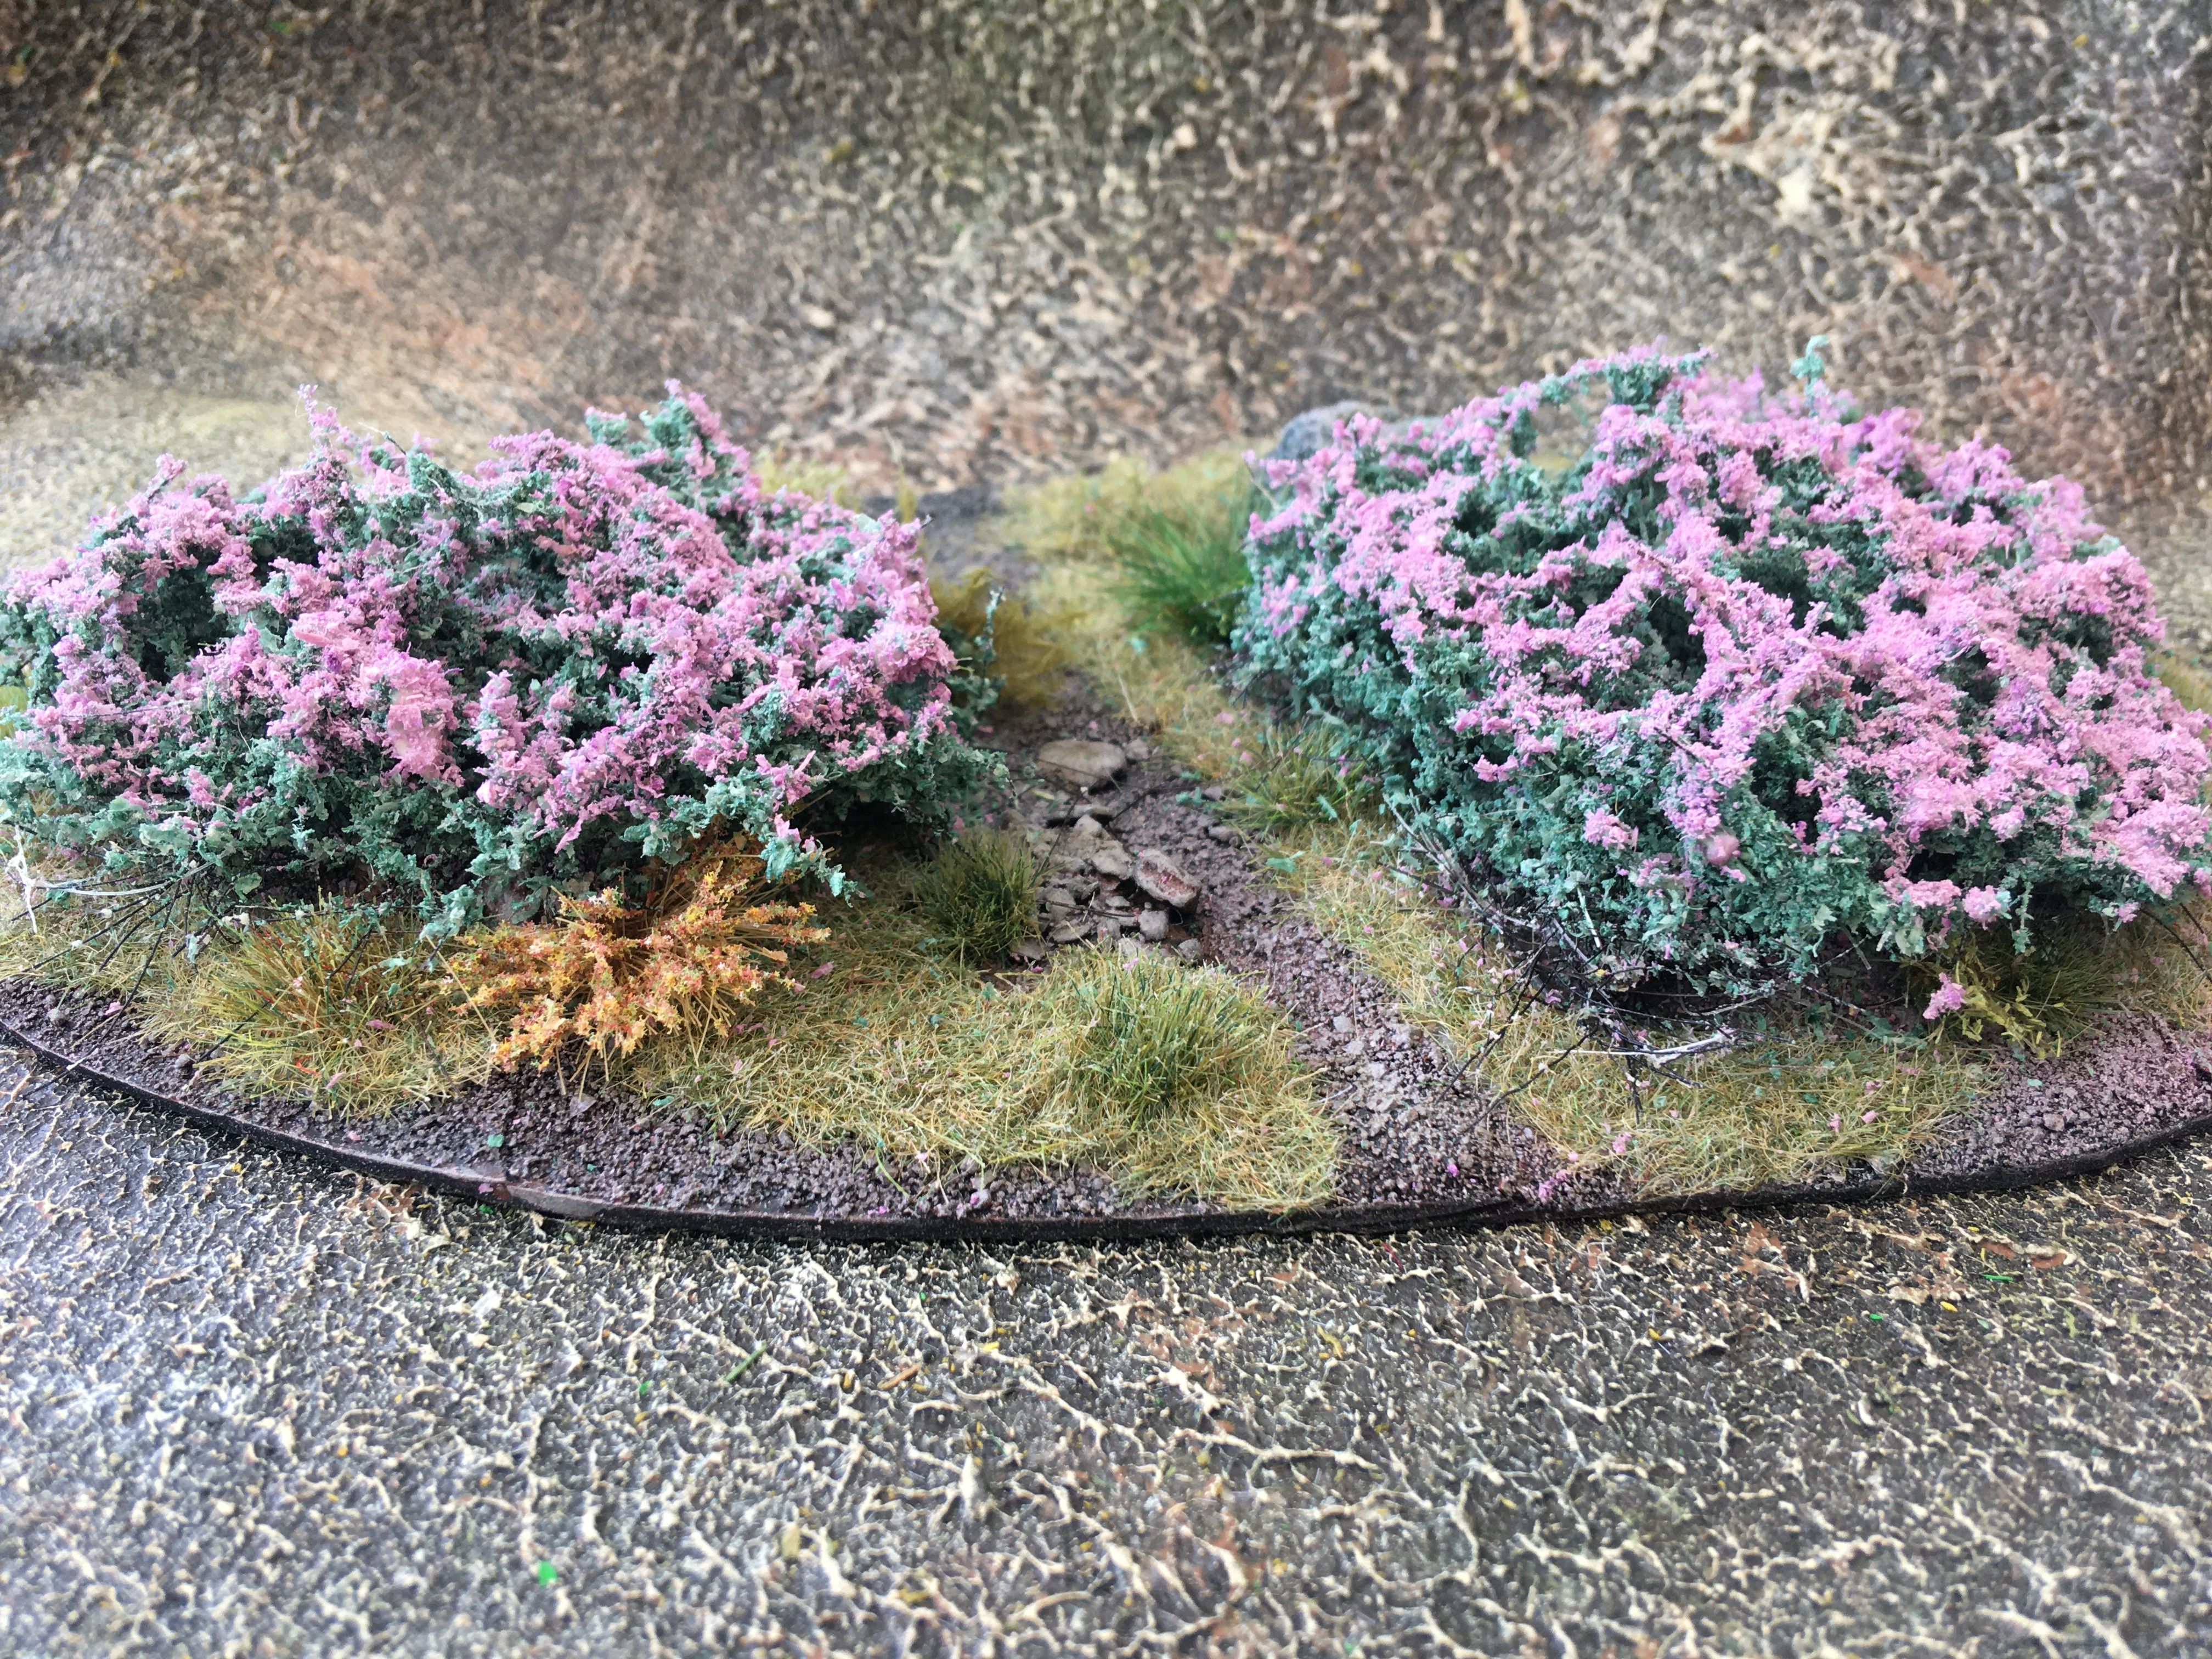
Remove from the disposable scaffolding cut and use. Note there will always be blobs of latex that
have collected in parts and set. Just
cut and tease them out.
I will do this about every two years as I tend to have the
latex on hand and do not want all the money I spent on the pony to go to
waste. The product will be similar to
rubberized coconut hush but much finer.
I suspect this toot will work for wife and daughter hair but the
prospect creeps me out.