Snitchy's diatribe on terrain.
Or: How I learned from my mistakes and now have a soap-box to stand on and point them out.
These are some guidelines that I have created to help everyone make not only better terrain, but also terrain that is more durable. And begin rant.
First: Make no terrain that removes excessive space from the tabletop. For buildings you have two options. Option one is for buildings that do not have an interior. Build them at a slightly reduced scale so they do not occupy too much table space. Option two is to build the building with an interior. This will make the whole building usable instead of just part of the building. Adding a second stories will expand the play area.
For other terrain features make sure that any ridges (such as the banks of rivers) are flat on top and have enough space to stabilize a large base. The sides of stepped hills also need to be able to stabilize a large base. You never know where someone will end their movement.
Rivers make it hard to avoid eating up space on the board. Try to make sure that they do not have any large lakes or features that cannot be used as tabletop.
Second: If the building or terrain feature can be entered, make multiple entrances and exits. If there is only one entrance no one will use it and this becomes a waist of space. The same goes for rivers. Make sure that there are multiple crossing points. If there is only one, this will be the focal point of the game and it limits game play.
Third: When making modular terrain, try to make sure that edges of rivers and features match up. Also try to hide the seams between different sections so they cannot be used as an improvised ruler. Felt painted to match the board will work for this.
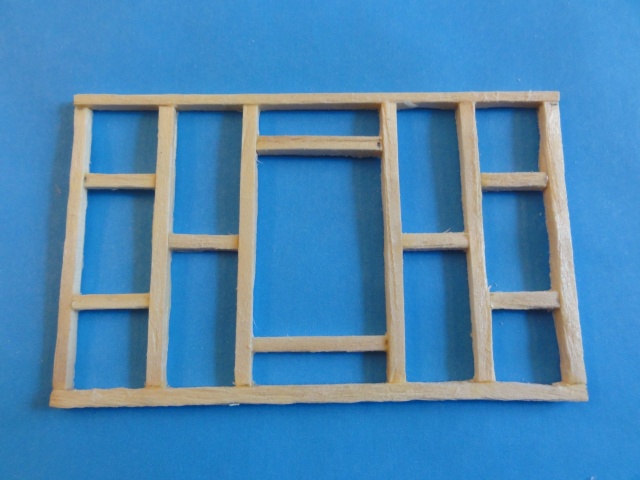
Four: This is not strictly necessary but it is one of my pet peeves. Try to use forced perspective when doing interiors. This means do not do a full interior. You cannot play a game, with the interior of the objective building, cluttered full of nice furniture. The way that you make interiors look like they are occupied is to build features within a ½ inch of the wall. Wood paneling, clocks, pictures, fireplaces and the works. This will give the interior of the building features that will put the building in context just as much as the exterior.
Five: Reinforce the terrain piece as much as possible. When I am gluing a piece together, I make sure that I have multiple materials overlapping each other with layers of glue in between. Another way to reinforce terrain is to glaze your piece with superglue. This will not work with foam, but with other items, it will harden your surface, and make sure that your basing materials and scratch built parts will not fall apart. The way you do this is to put a dab of liquid superglue on the part to be glazed. Then either blow the superglue or used a can of compressed air to blow the superglue into a thin film. This is another way to layer glues and materials. Use spray sealers on your terrain so they do not chip.
Six: Make sure that your terrain will not chip another piece of terrain that it is set on. Do this by adding felt to the base of your terrain features. You can do this with the underside of a roof so it does not damage the rest of the building.
Seven: If your terrain travels, try to have a dedicated box to carry it in, and use foam or bubble wrap to protect it. I have seen several people who have done wonderful terrain that once it is completed they just throw it back into the box with everything else. If you are going to spend the time to do these works of art, please protect them.
Eight: Make the terrain visual interesting. Make it look lived in. One way you can do this is to hide "Easter eggs" on the piece. Add little details that people might not see initially. Add animals to the bases of your trees. Add a cat sitting on the roof. Add a cup of coffee sitting on a shelf or stove. Any little detail will increase the overall effect.
Nine: Be consistent. Use the same color paints, the same basing materials, the same color ground cover etc. etc. This makes your terrain uniform. Nothing is worse than having a beautiful desert board with a building with a snowy base sat in the middle.
Ten: Most linear obstacles should be of average height. This means to the waist of a man-sized model. Larger obstacles block line of sight. A whole wall that is too tall will limit game play. If you are making linear obstacles either make them random lengths, or make them an odd size (4 or 5 inches). Either way they are not used as a ruler.
Eleven: If you have a terrain feature that does not allow models to move over the entire feature (like a train engine), try to make up the space with a multi-story building, or scaffolding that can be accessed.
Twelve: Continue with a concept. If you have a chimney or vent on a building exterior, make it lead to something if you can (some things cannot be properly represented on the interior like wind or water mills).
Thirteen: Make something that at least appears to have a purpose. If you have a steam engine, what is it for? What is it attached to? If you have scaffolding what is its purpose?
Fourteen: Allow no ambiguity in your terrain. Is it rough terrain or clear? Is it deep or shallow water? If necessary write the terrain condition on the bottom of the piece to stop any arguments.
Fifteen: Base everything on something hard. How many hills have you seen at your LGS that have been chipped to the foam on the edges? Basing the bottom of terrain gives you two advantages. First it makes it sturdier and second it will stop most dings from other terrain or rough handling.
Sixteen: Try to make terrain that is not specific to only one scenario. If you make Cryx mining rigs, great but find other uses for them too. How many times are you going to play that one scenario?
Seventeen: Paint everything. Unpainted or untreated materials will show through no mater what you do.
Eighteen: Use durable materials. If you find something that you like (say trees). Is there a company that makes them harder? Is there a way to make them stand up to more abuse? Always think durable. This is not a diorama where you can use dry flowers and they will not be touched. This is a war game! Treat it as such.
Nineteen: When kit bashing (again I will use a toy train) make sure that the original model is not readily identifiable. If you have to do major modifications to make it your own, go ahead. Tinker with it.
Twenty: Horde things. My wife hates me for this. Almost anything can and will be useful for terrain at some point. Horde as much as you are allowed or can.
Twenty-one: Keep a scrapbook. Try to sketch all angles of your piece. If a building with an interior, try to sketch the whole thing, every wall, inside and out. It does not have to be fancy. It does not have to be original art (that is what we are making here). It only has to keep you focused on the task at hand.
Twenty-two: Try to work on only one project at a time. It will help you from getting overwhelmed, and keep you going on the task at hand. If you get burned out by all means do a quick smaller project but get back to the big one as soon as possible.
Just some suggestions. Hope I am not being too preachy here. But I have been doing this for about twenty-five years now and I think that it will help others.
Snitchy sends.