Finished up with the oils.
First application was the blues and reds. These were painted on in a blob in the center
of the part to be tinted. Then a brush
that is damp with white spirits was applied to blend the tint onto the
surface.
Next step was the greens and black. The green was used on the stone and the wood
surfaces to imitate damp mossy areas.
The black was used solely on the skeletons to simulate the discoloration
of decay. The same process of using a brush damp with white spirits was used to
blend the colors in place.
Once all of the oils were dry, a wash of raw umber oil and
white spirits was used. Some areas of
the skeletons and skulls received more watered down oils at this time.
Black felt was added with spray adhesive at the bottom of
the plinth and the shrine. This helps
protect the surfaces and will help blend the terrain onto whatever surface it
is placed on.
Here are the individual components.
Base:
The Shrine:
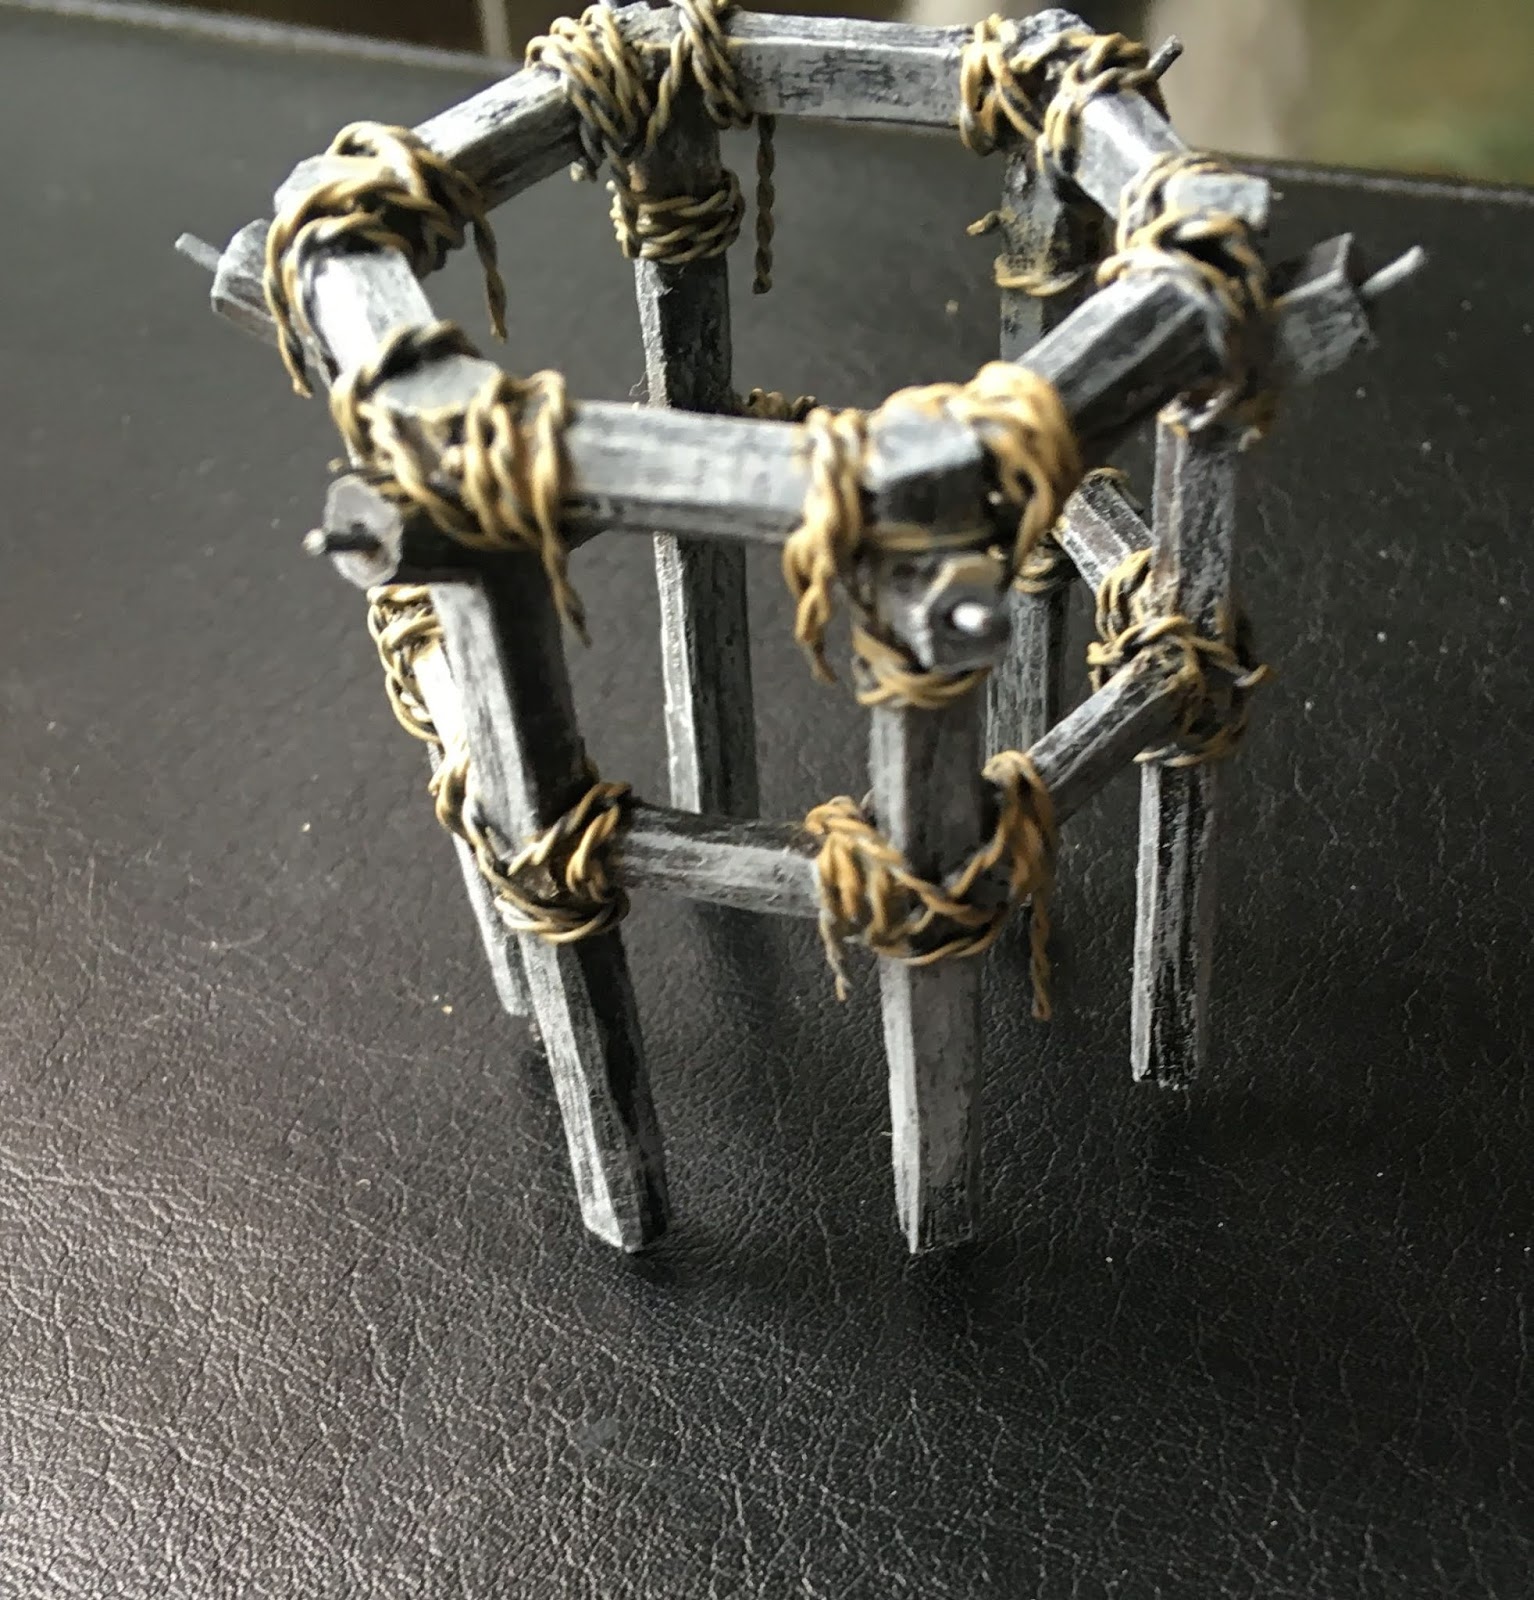
The scaffolding:
The wheels:
Here is everything put together. Models are from Hasslefree and Studio Miniatures.\
Once the latest batch of oils finishes setting Pledge
Multi-Surface Wax (in the US read Future floor polish) will be painted onto all
the playing surfaces to help protect the paint.
After that sets it will get a coat of rattle can spray gloss then two
rattle can spray flat.
Just so everyone is aware. My cat found a bag.
Hope you like.